Creating A Wallet
To get started in the Telos ecosystem you’ll need a cryptocurrency wallet. A wallet allows you to securely store your assets and interact with dApps (Decentralized Applications) within the Telos ecosystem. The two primary wallets/signers we suggest using are Metamask and Anchor. Below you will find step-by-step guides to creating these wallets and connecting with Telos.
Wallet Options


MetaMask: A Wallet For Telos EVM
Telos EVM fully supports MetaMask, a leading wallet for Ethereum-based blockchains.
Step I - Install MetaMask
- Head over to MetaMask
- MetaMask is compatible with multiple browsers, iOS & Android.
Be attentive to each install tip that MetaMask may give.
Be sure to save and safely store any and all private keys/seed phrases during the MetaMask install. If your private key/ seed phrase is lost or stolen you lose control over your account and wallet. Please keep your key/s safe!
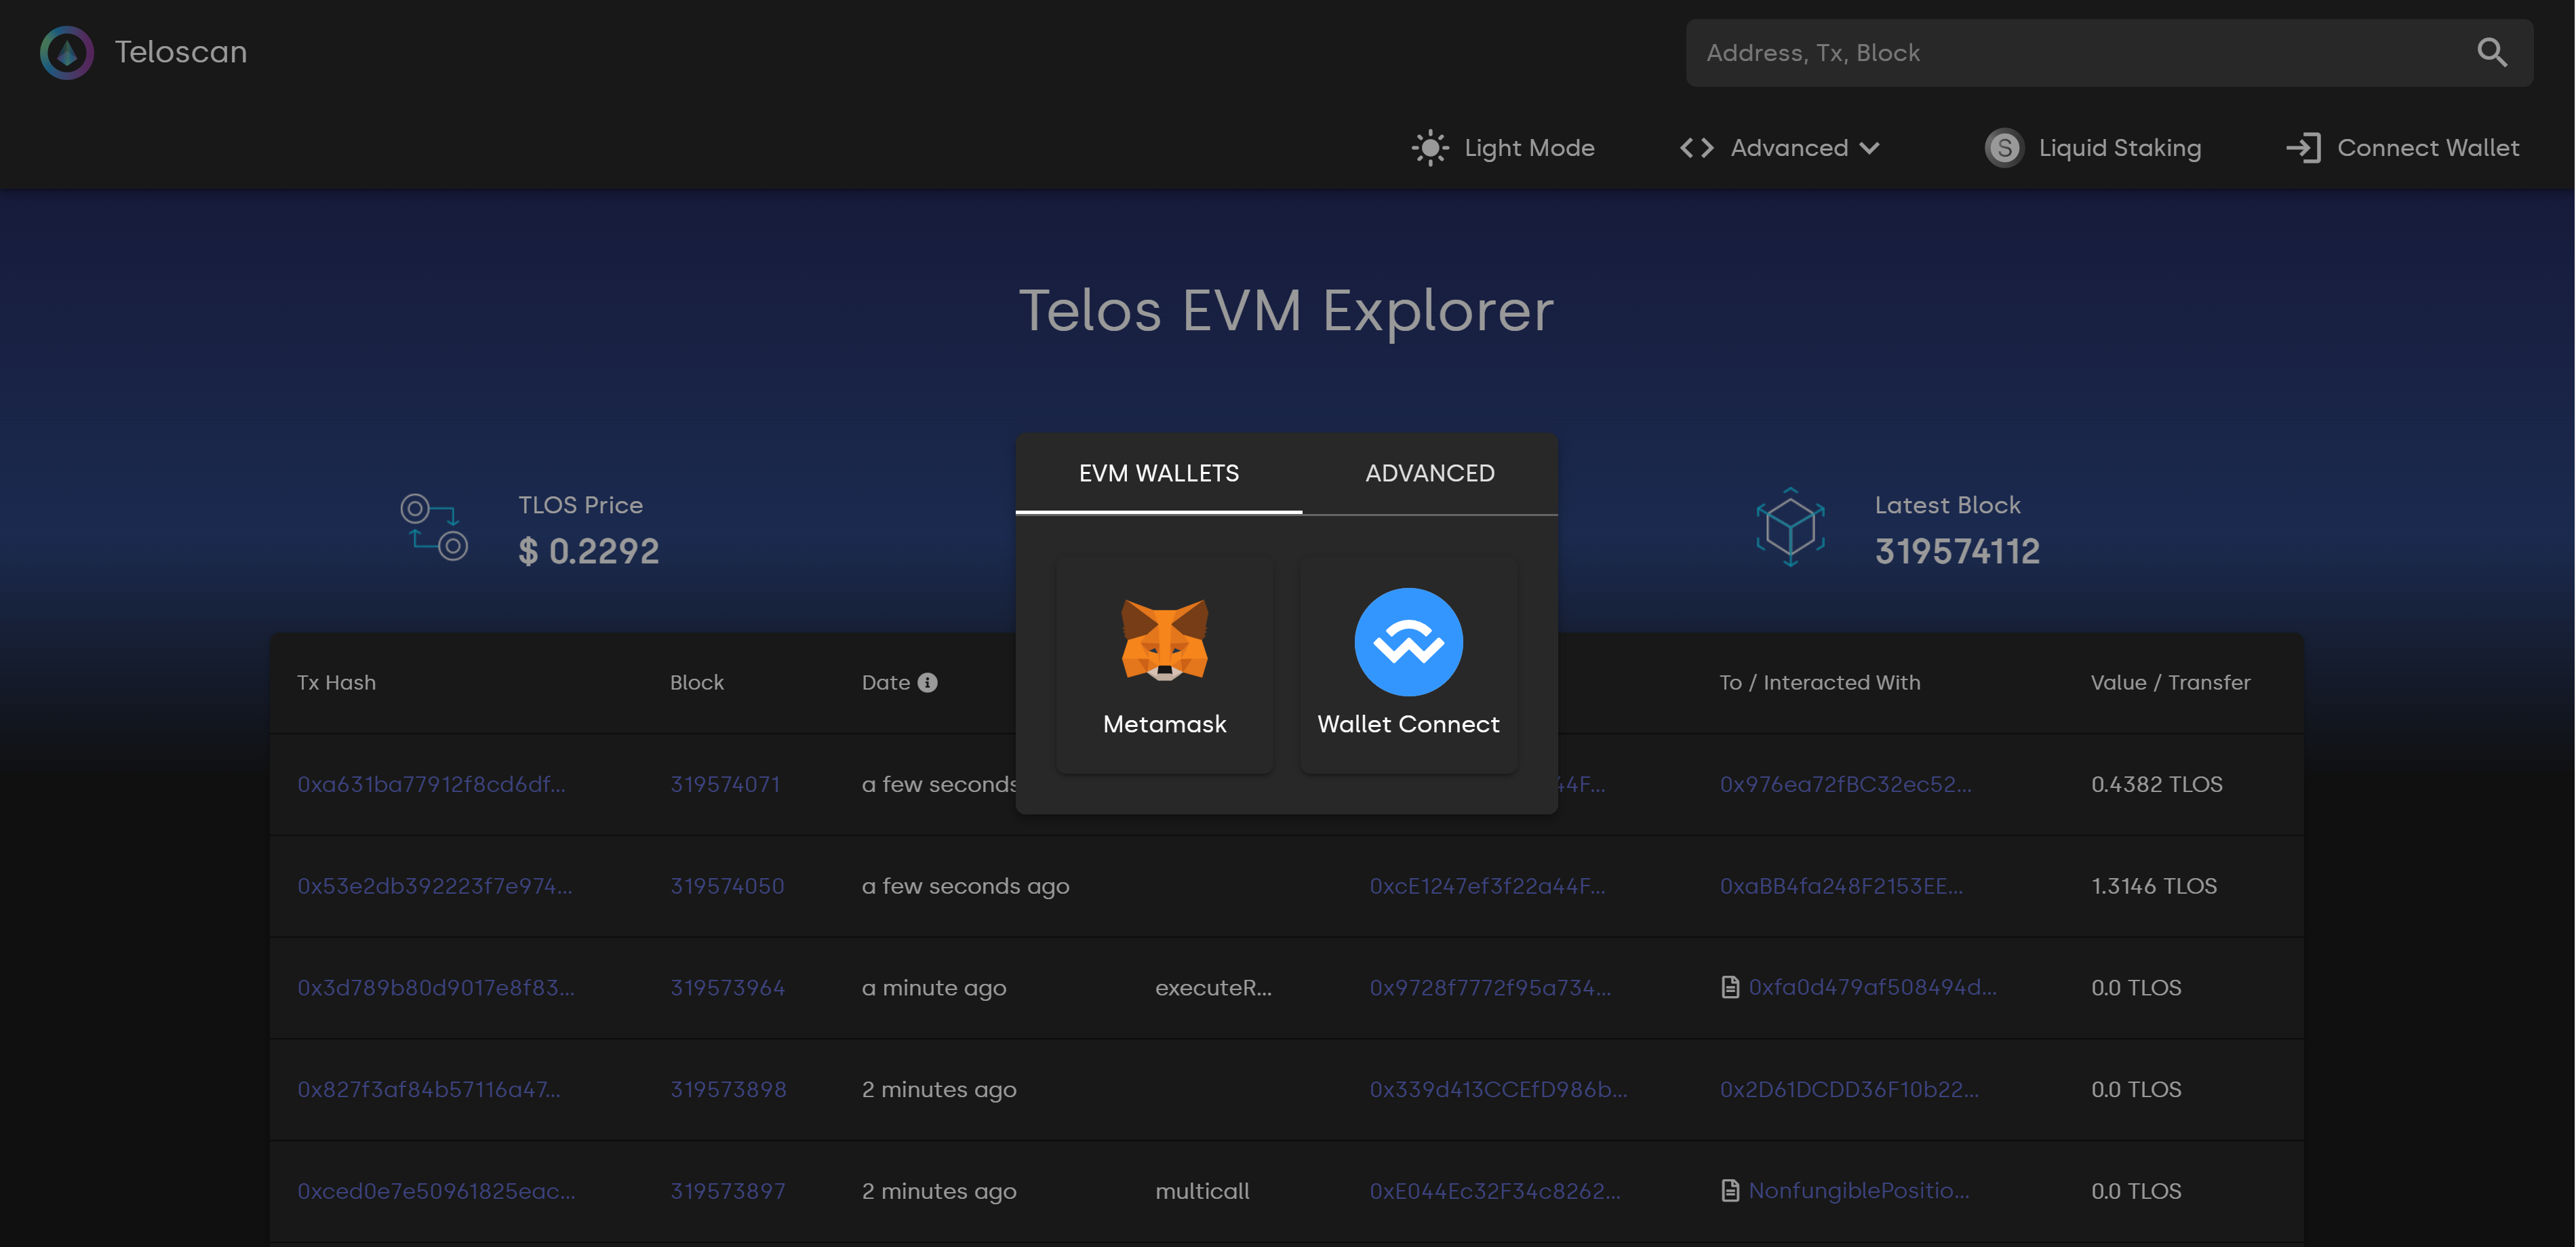
Step II - Import The Telos EVM RPC
- Head over to teloscan
- Click "Connect Wallet" on the top right corner of the page.
- Select MetaMask
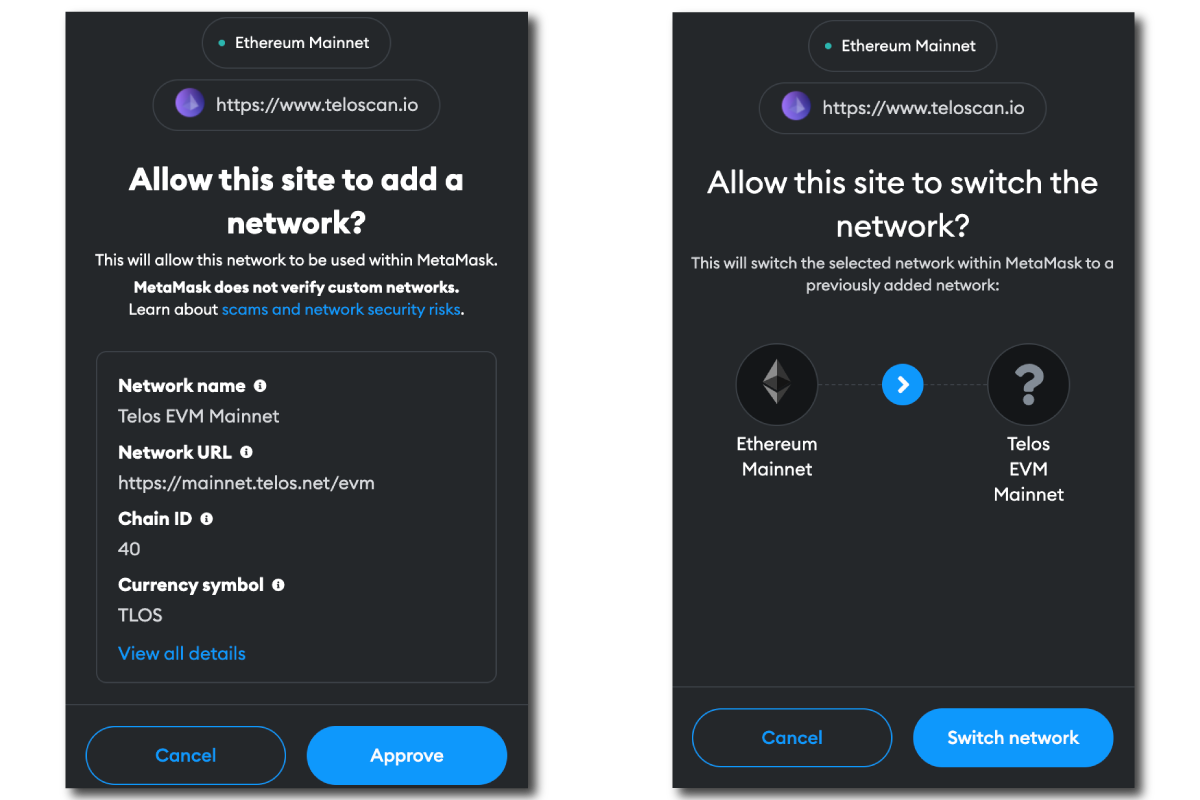
- Click "Approve" to add the tEVM network to your MetaMask wallet.
- Click "Switch network" If you'd like to swap over from your current network to the tEVM network.
With the network added you can now enjoy what the tEVM ecosystem has to offer! We are sure you'll love the instant speeds, cheap transactions and the lack of front running.
Anchor: A Signer For Telos Zero
Since Anchor is a signer and not a wallet, we will be using it in tandem with the Telos Web Wallet.
Step I - Create a New Account
- Go to Telos Wallet
- Click the "TELOS ZERO" tab
- Click "Create a New Account".
- Choose an account name.
- Save & store your public and private key somewhere safe.
- Press continue to create the account!
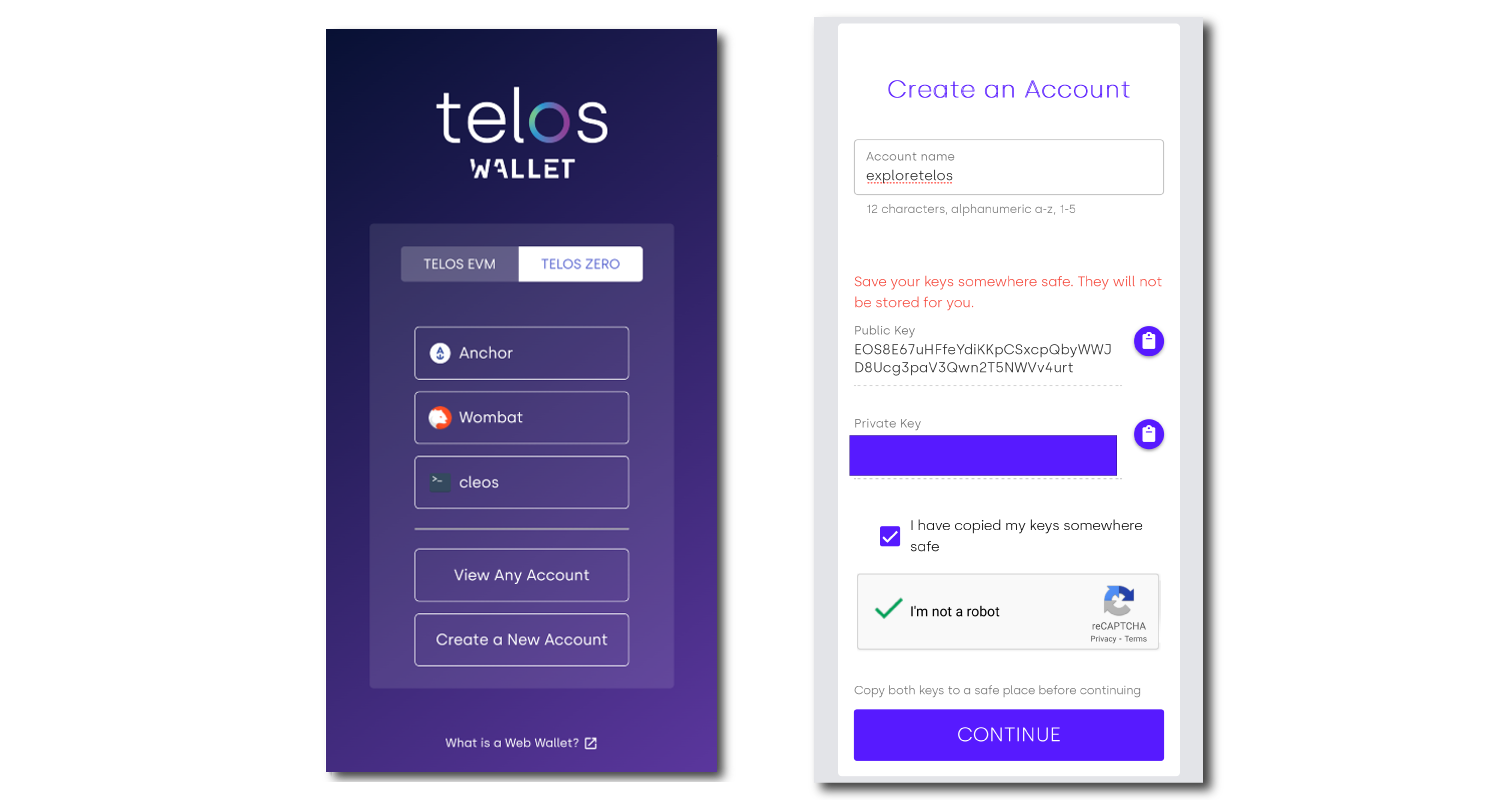
Telos account names must be 12 characters long and can only contain letters a-z, and numbers 1-5.
If your private key is lost or stolen you lose control over your account and wallet. Please keep your key/s safe!
Step II - Get Anchor To Sign For Your Transactions
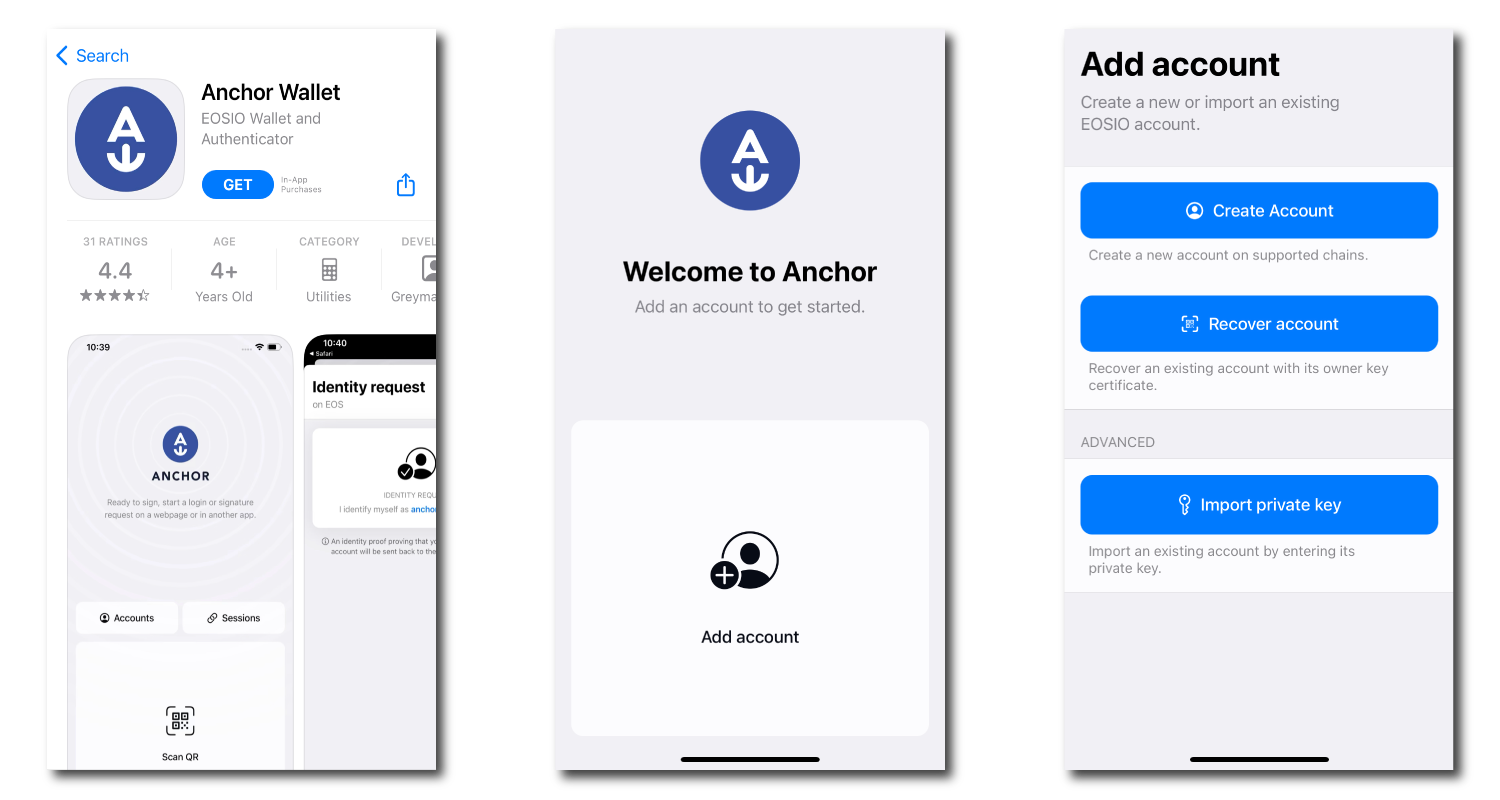
- Download Anchor here
- Open Anchor and click "Add account".
- Click "Import private key".
- Paste in the private key we saved from earlier.
- Select the account to import.
- Confirm the account, choose your security settings and click "Import account".
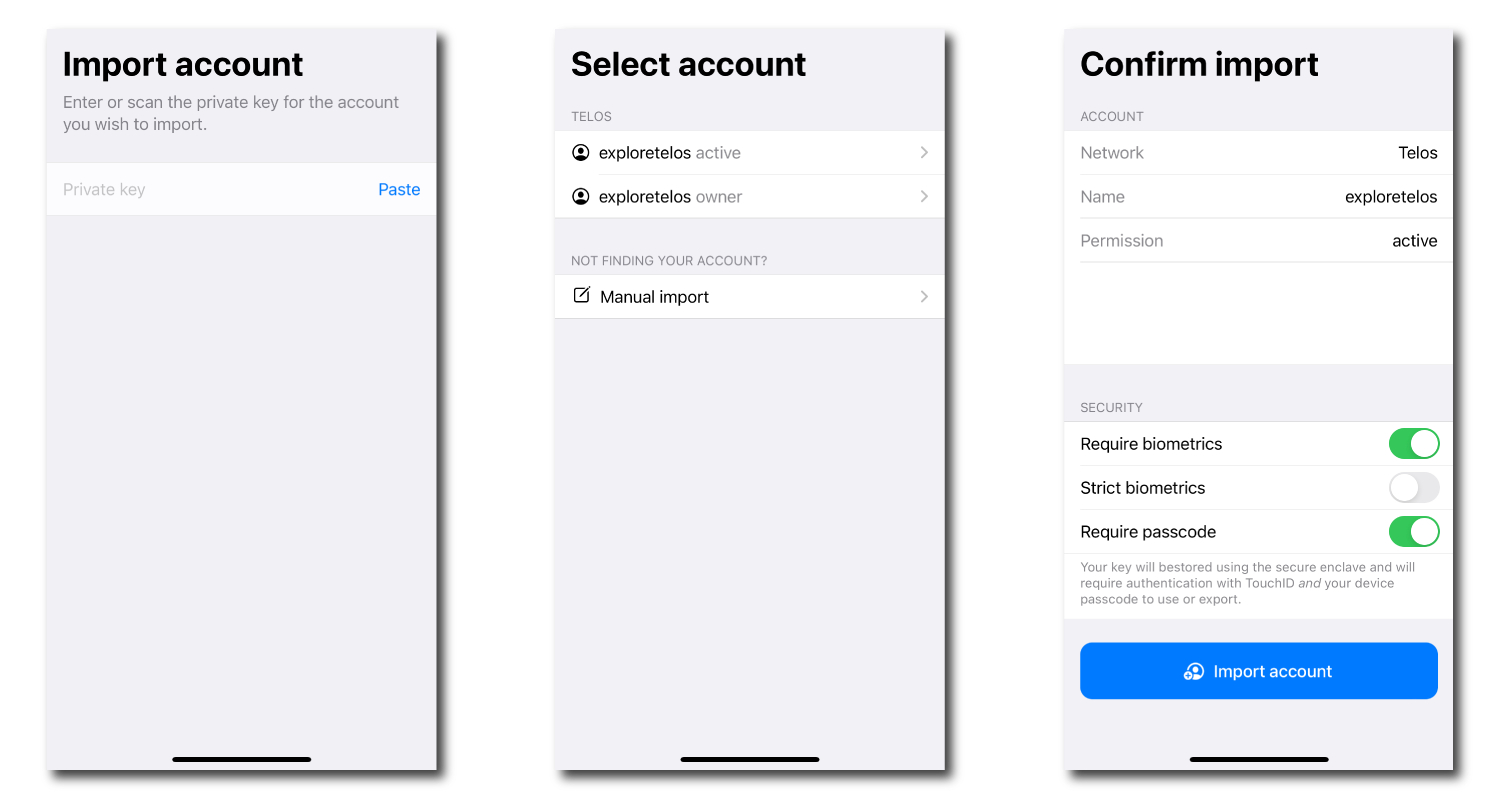
Anchor isn't a wallet. It is used to authenticate all transactions and interactions you may make with dApps on the native Telos ecosystem. In the example, we are using the mobile app version. Desktop versions are similar.
Step III - Log Into The Telos Web Wallet
- Head back to Telos Wallet
- Click the "TELOS ZERO" tab
- Click "Anchor".
- Now use Anchor to authenticate and log in to your Telos wallet.
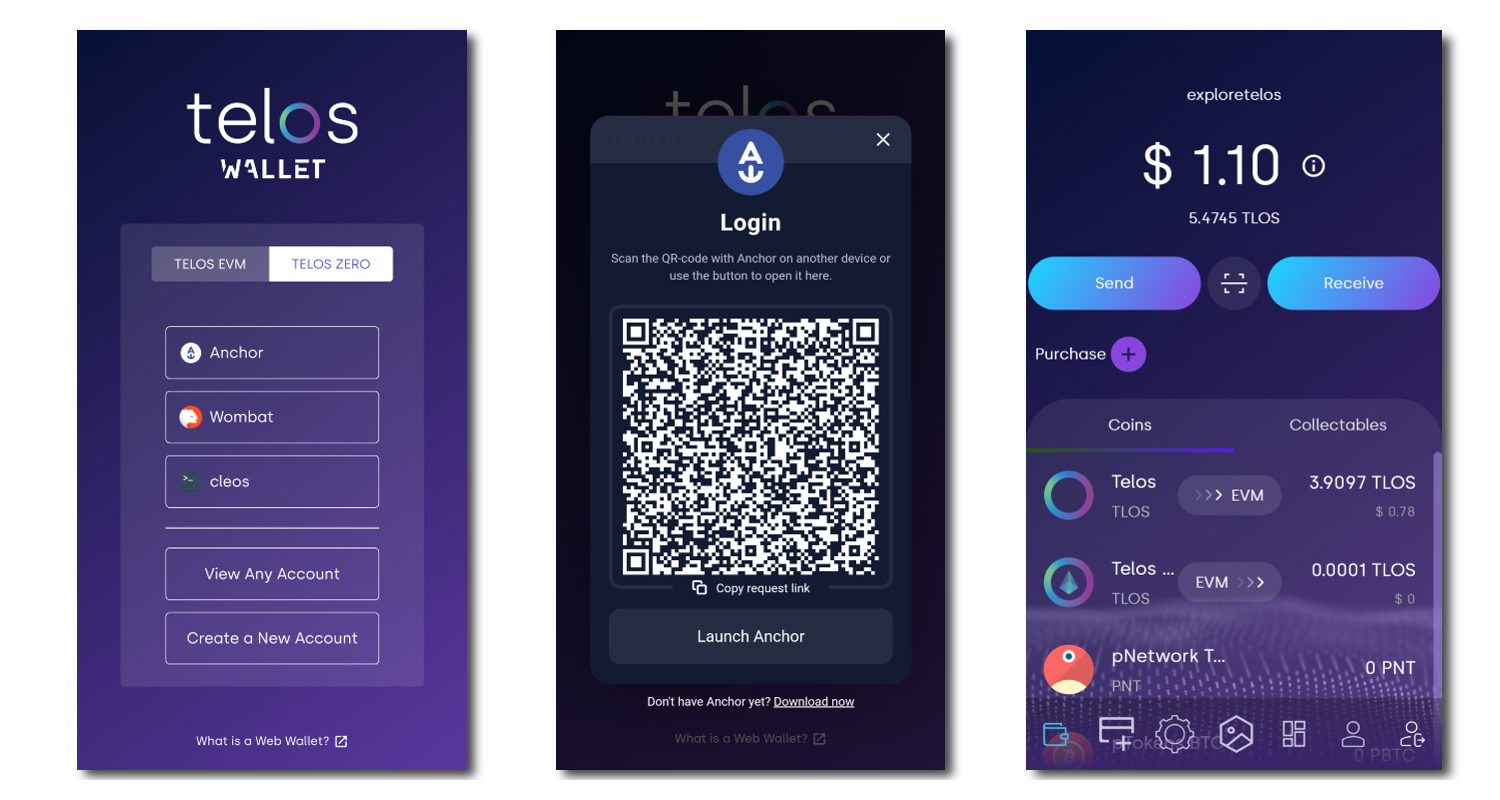
With the Telos Web Wallet, you can send, receive, stake and more!