Piñata.cloud
Step I - Create An Account
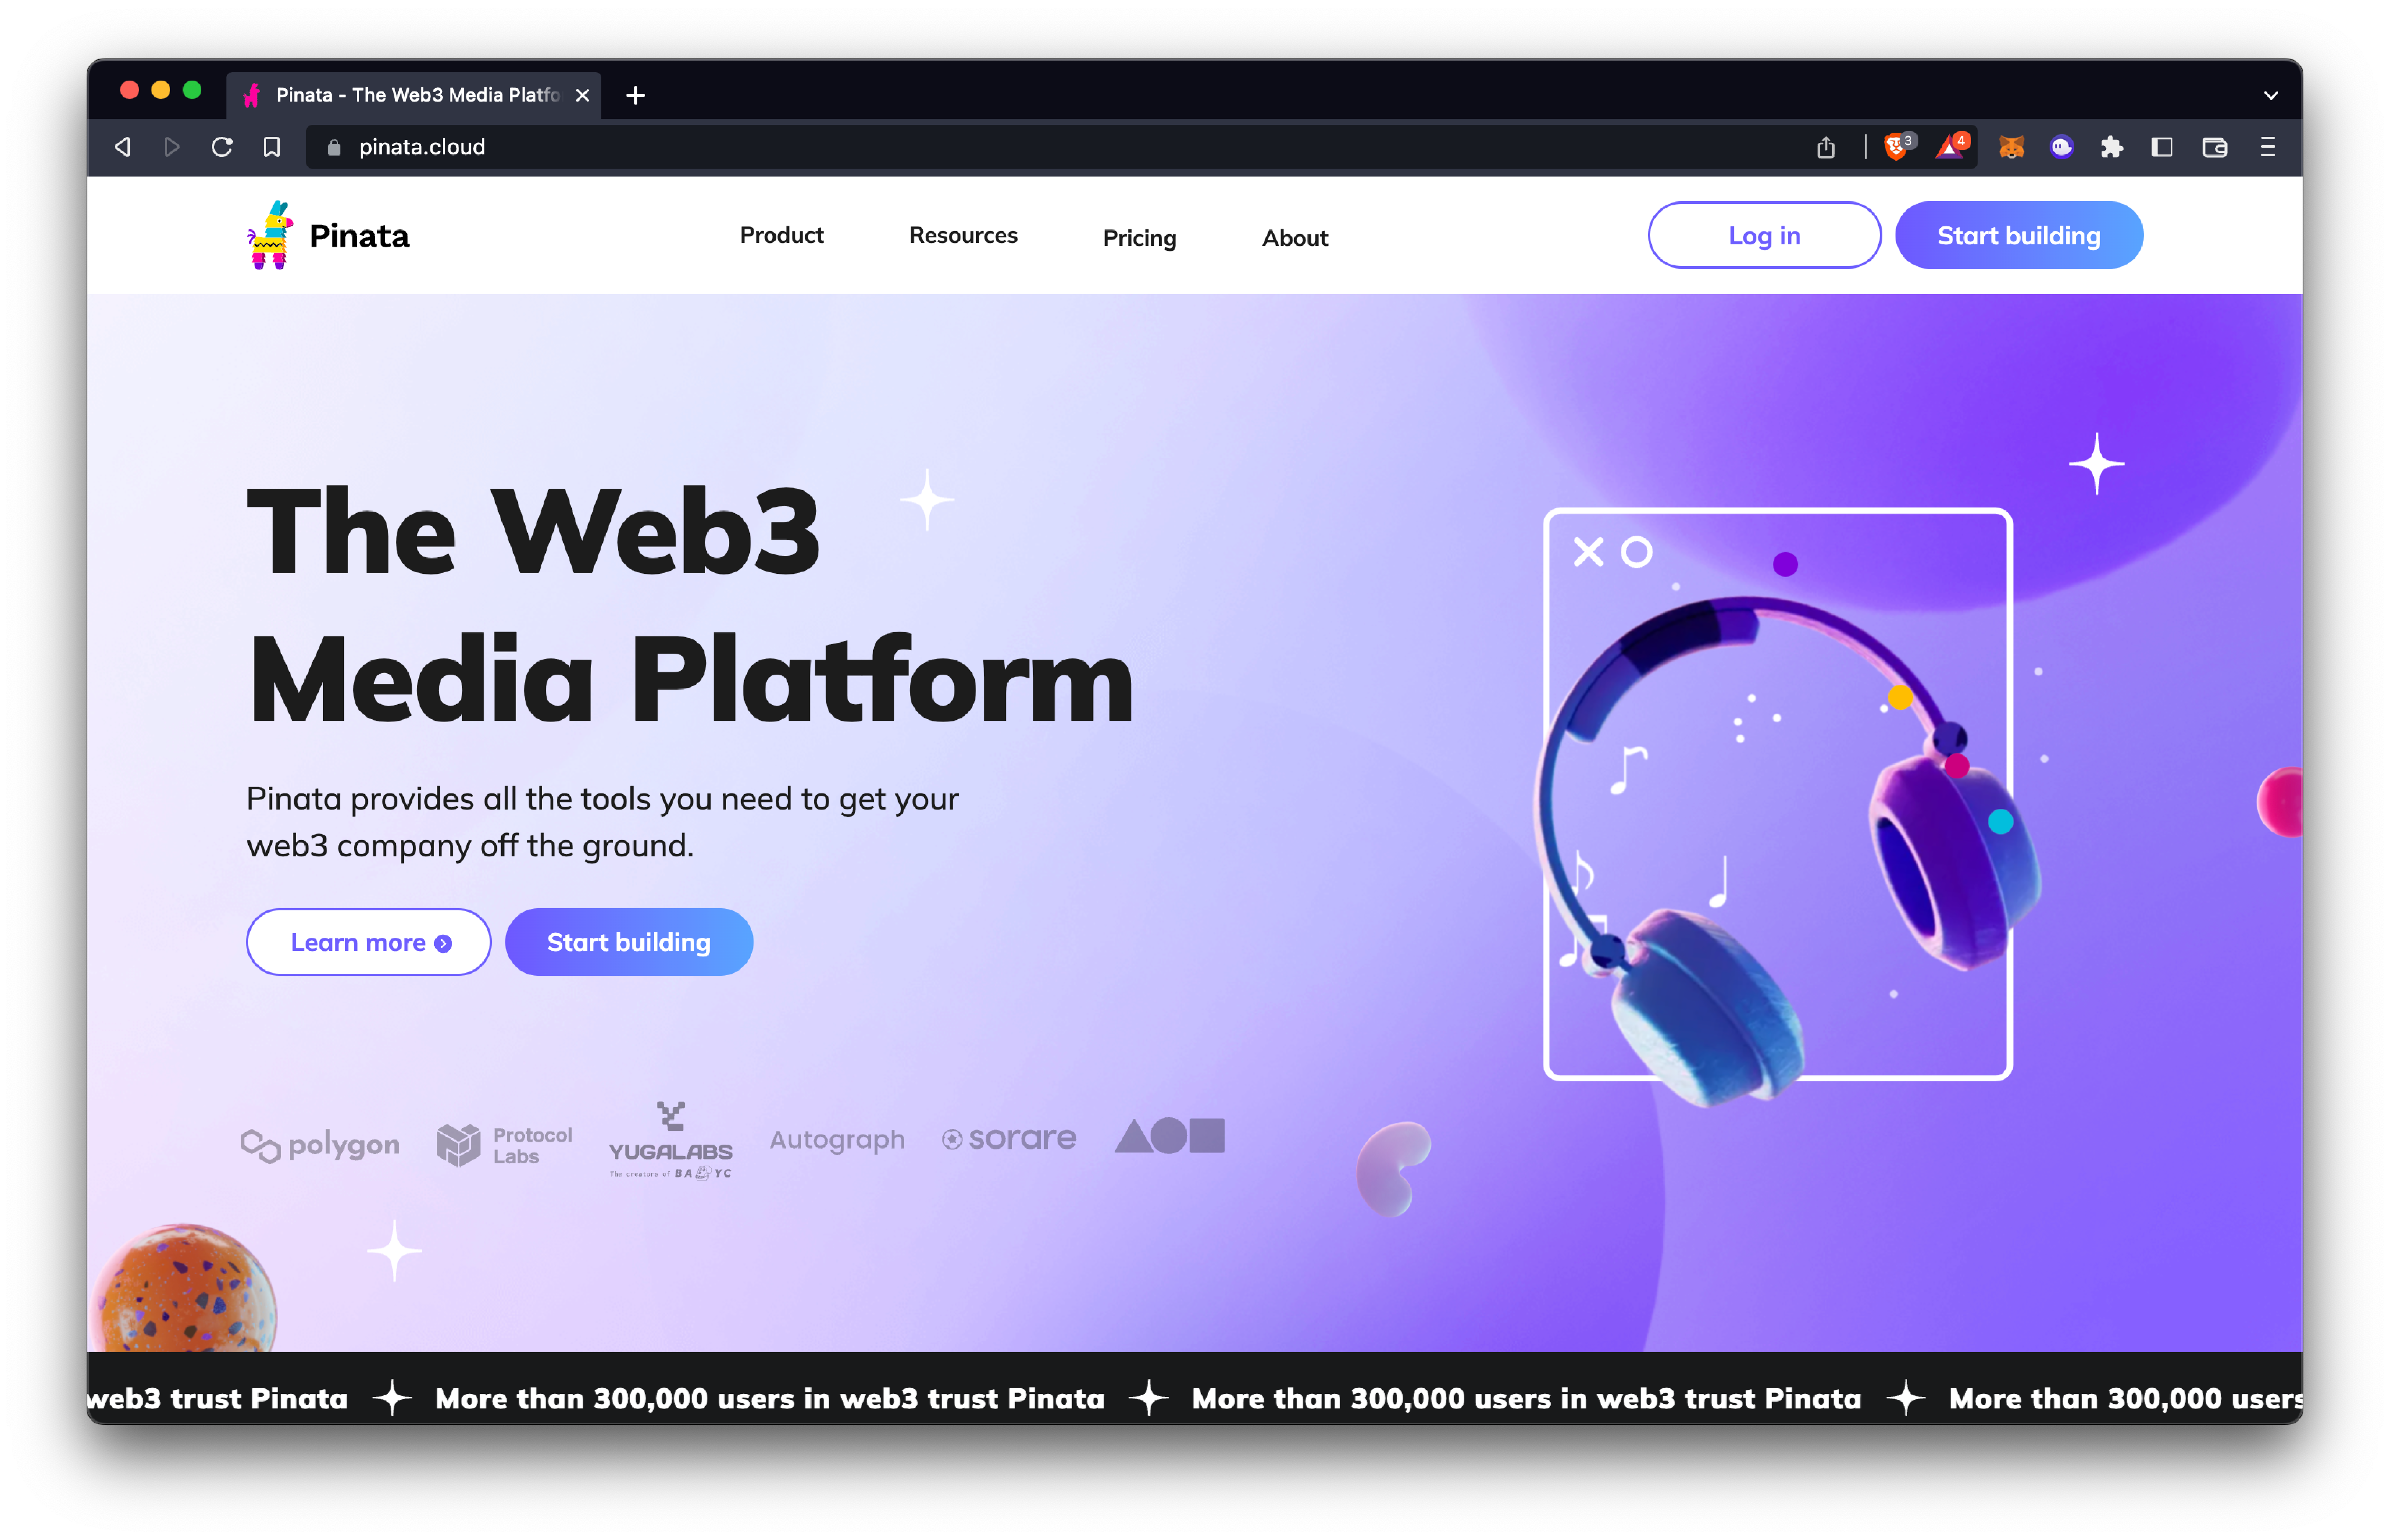
To get started head to Pinata
- Once you're on the home page click on the "Start Building" button.
- Register for a new account by submitting all information requested.
- Confirm your new account with the confirmation code sent to your email and you'll then be taken to your account dashboard.
Step II - Uploading Your Files
Piñata allows you to upload a single file or a folder containing multiple files. In terms of Digital Assets uploaded folders would most likely contain your art (pngs) or your metadata (json).
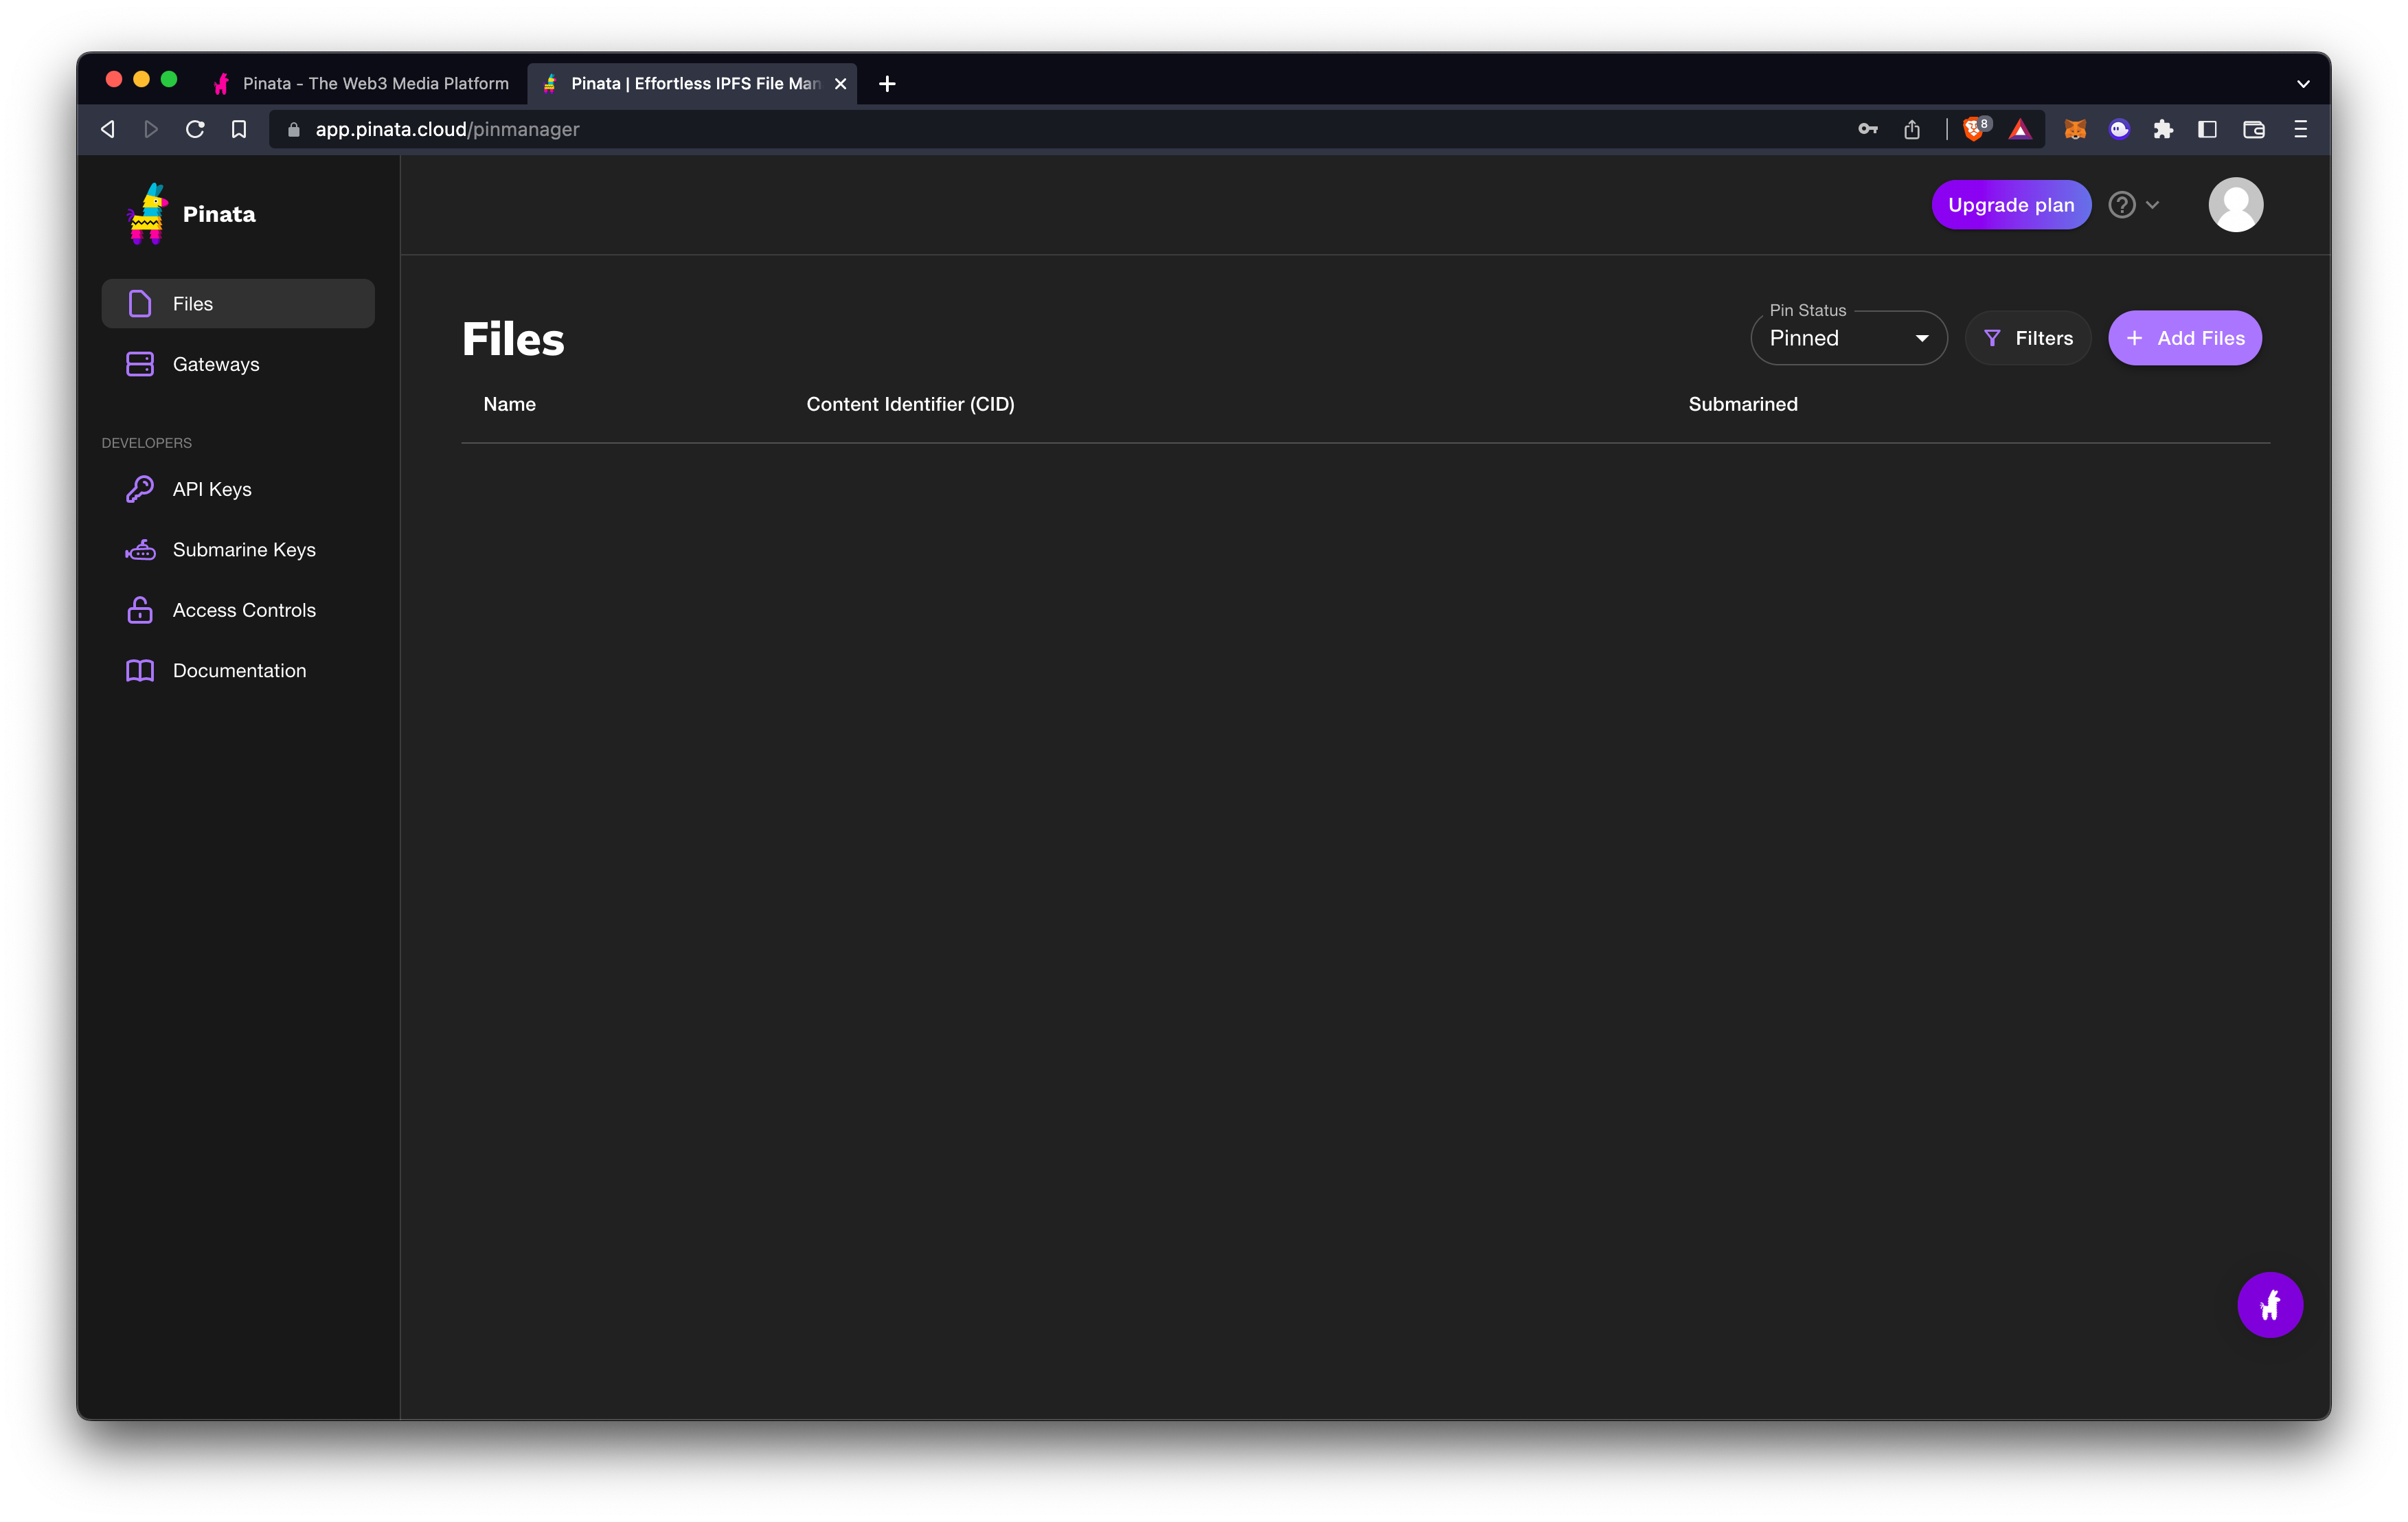
- Click "Add Files" at the top right.
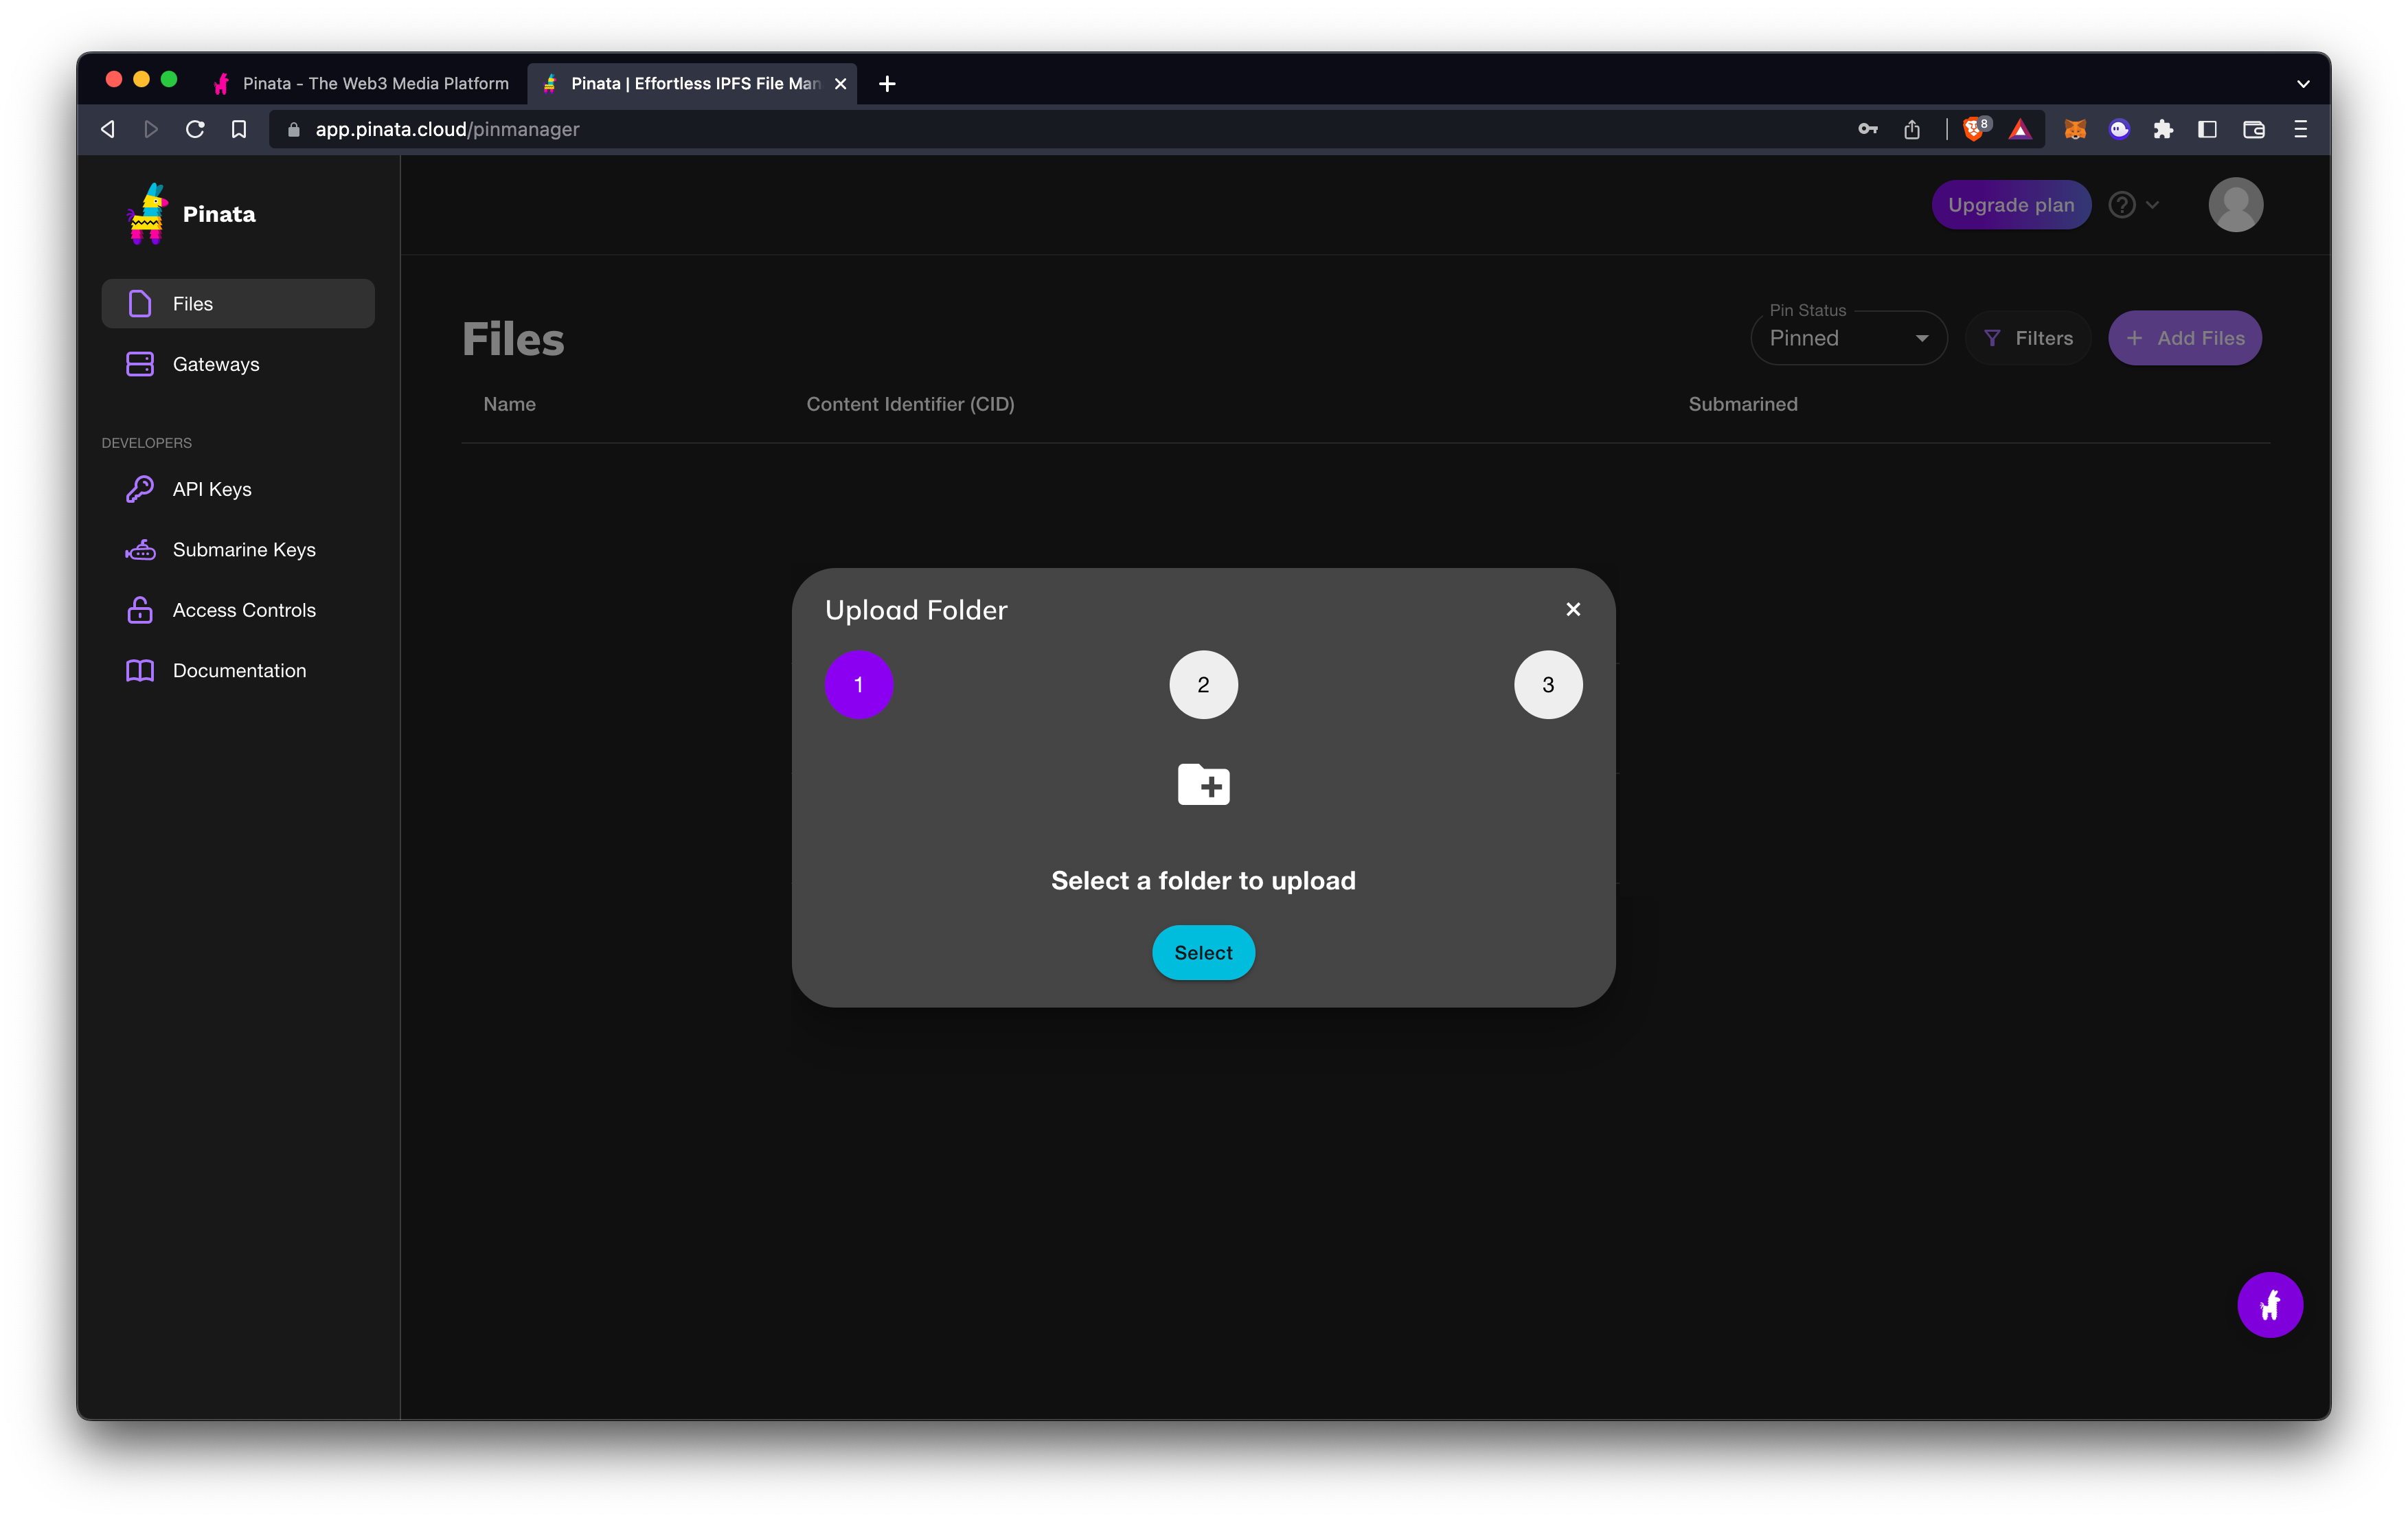
- Select the file or folder you'd like to upload. In this case we will be uploading a folder.
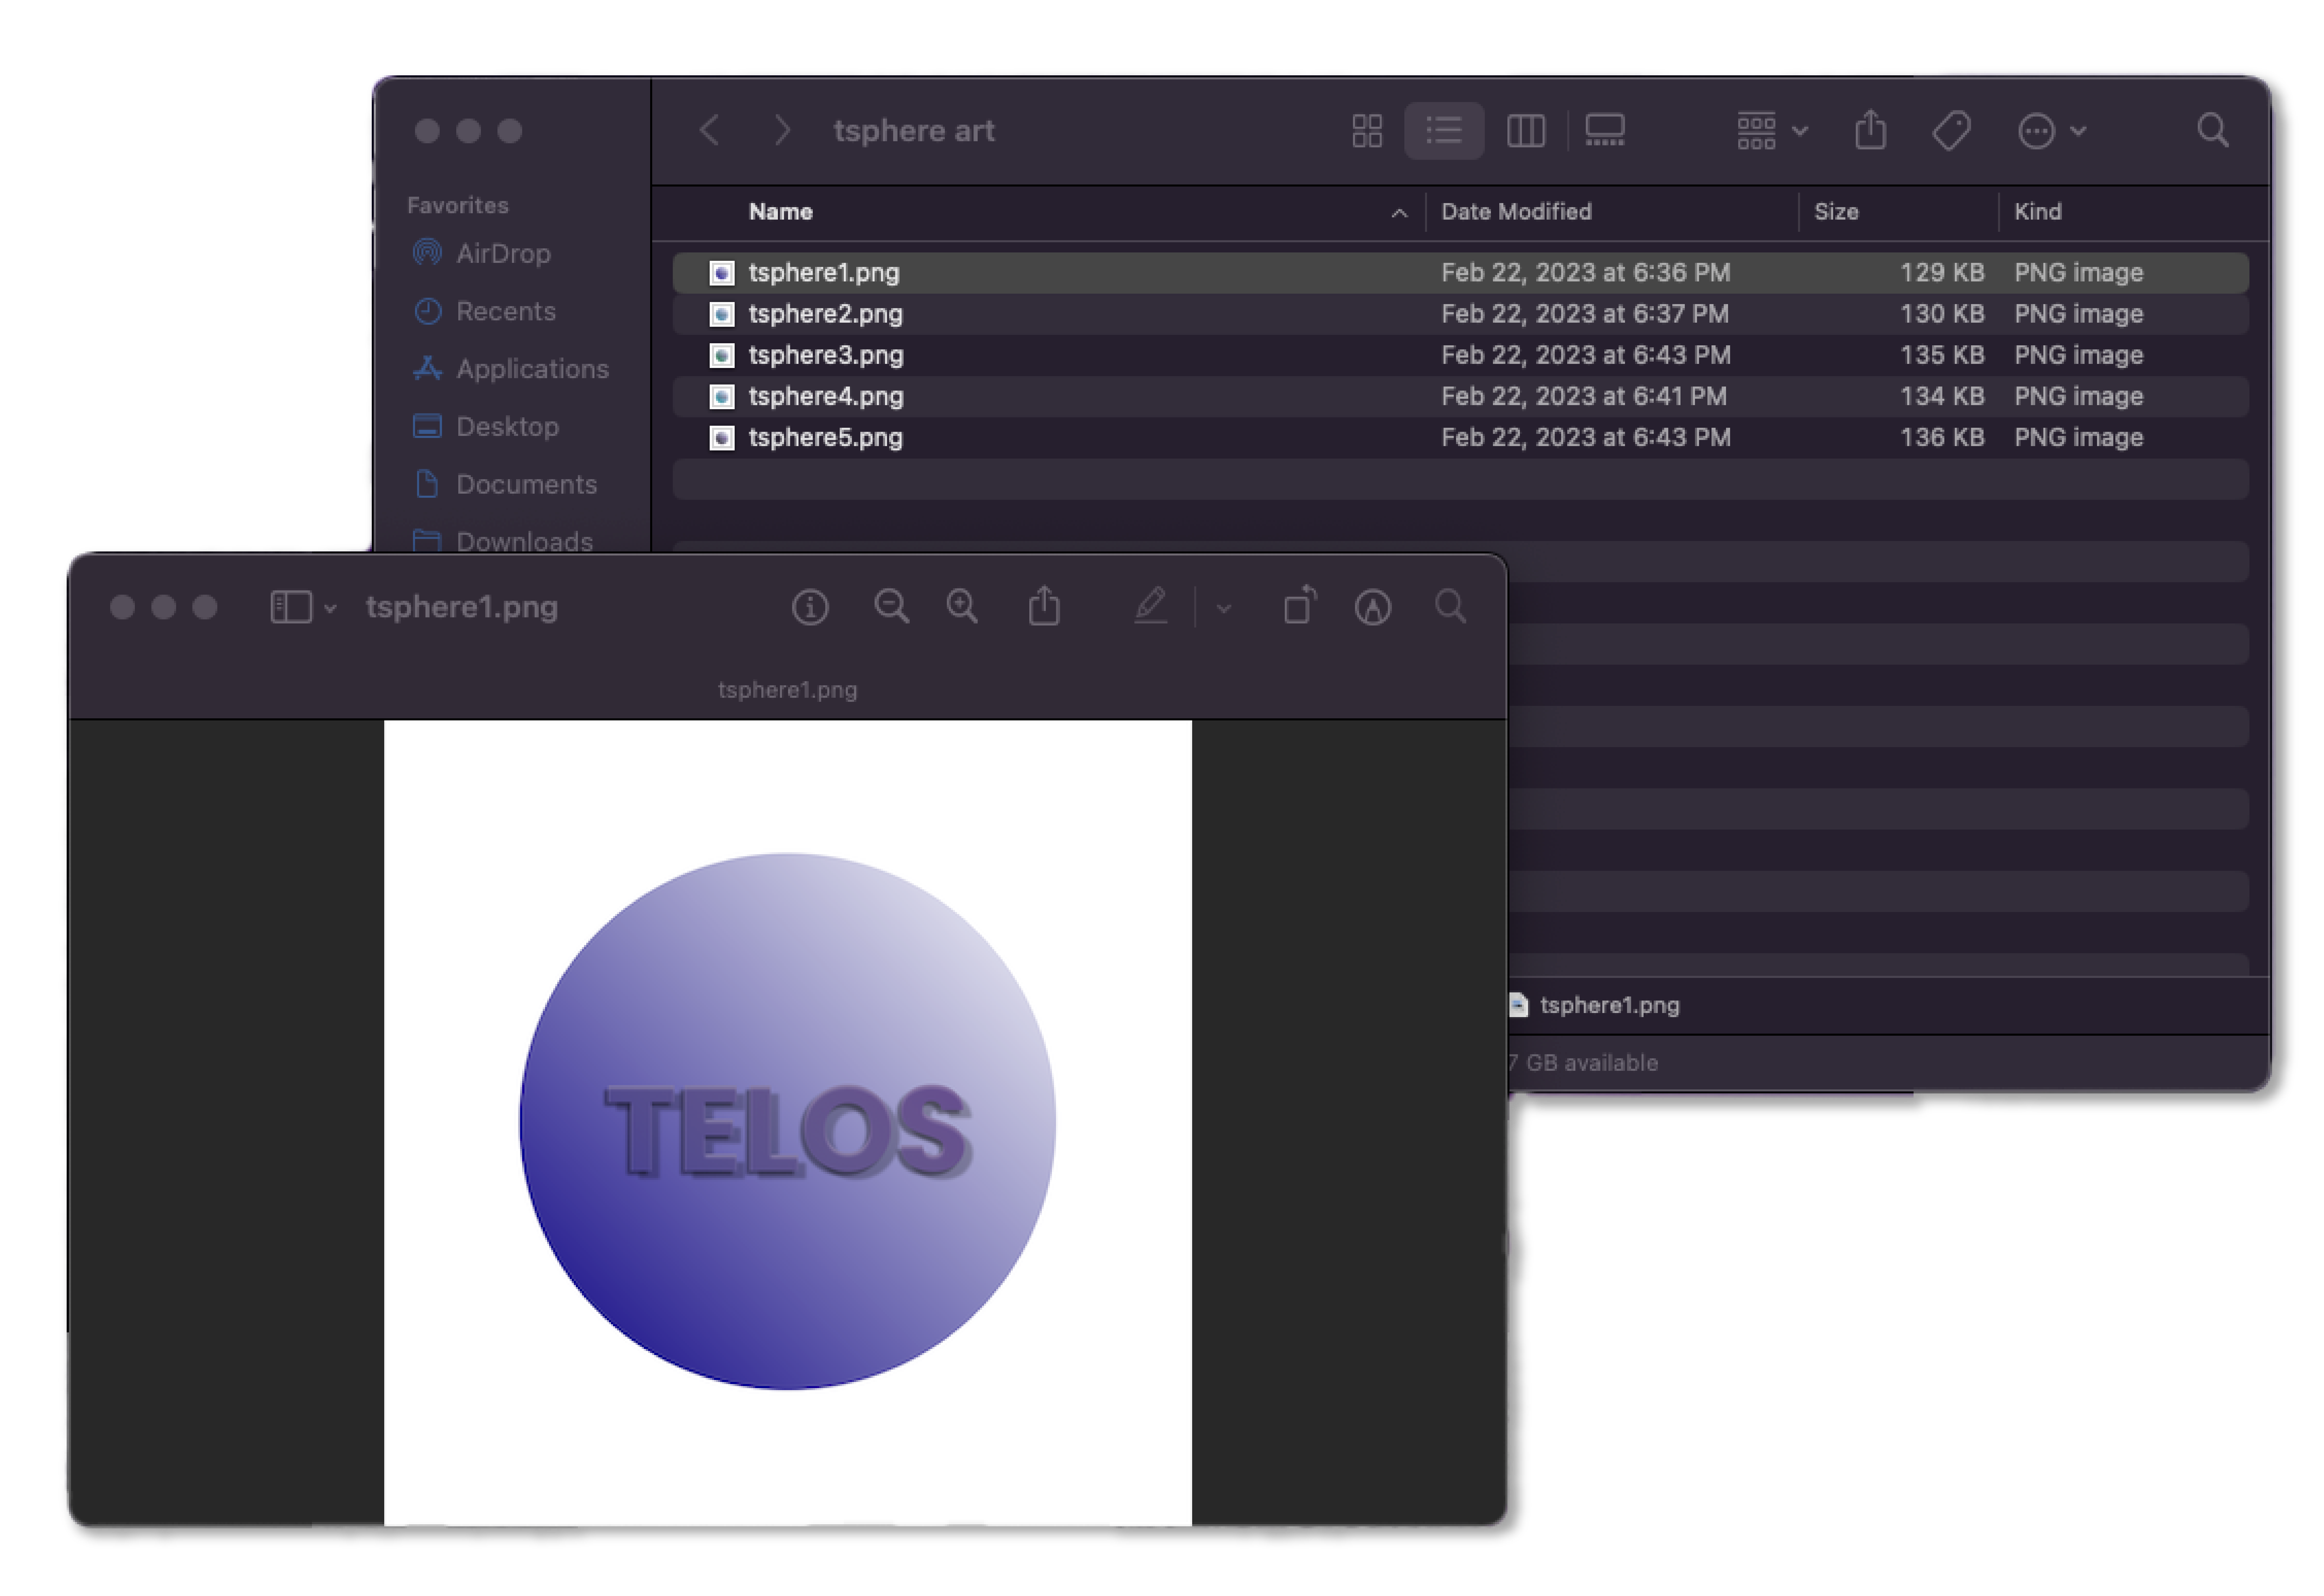
Here is an example of what you would want your folder to look like. This is a folder containing the png files for our Digital Assets. You'll want to upload these first so that you can put their newly created IPFS links into their respective metadata files.
- Once your folder is uploaded you should be able to click on it to access its IPFS Link. This may take some time to load if you're uploading a larger amount of files.
- Copy your folders CID number which is highlighted in blue.
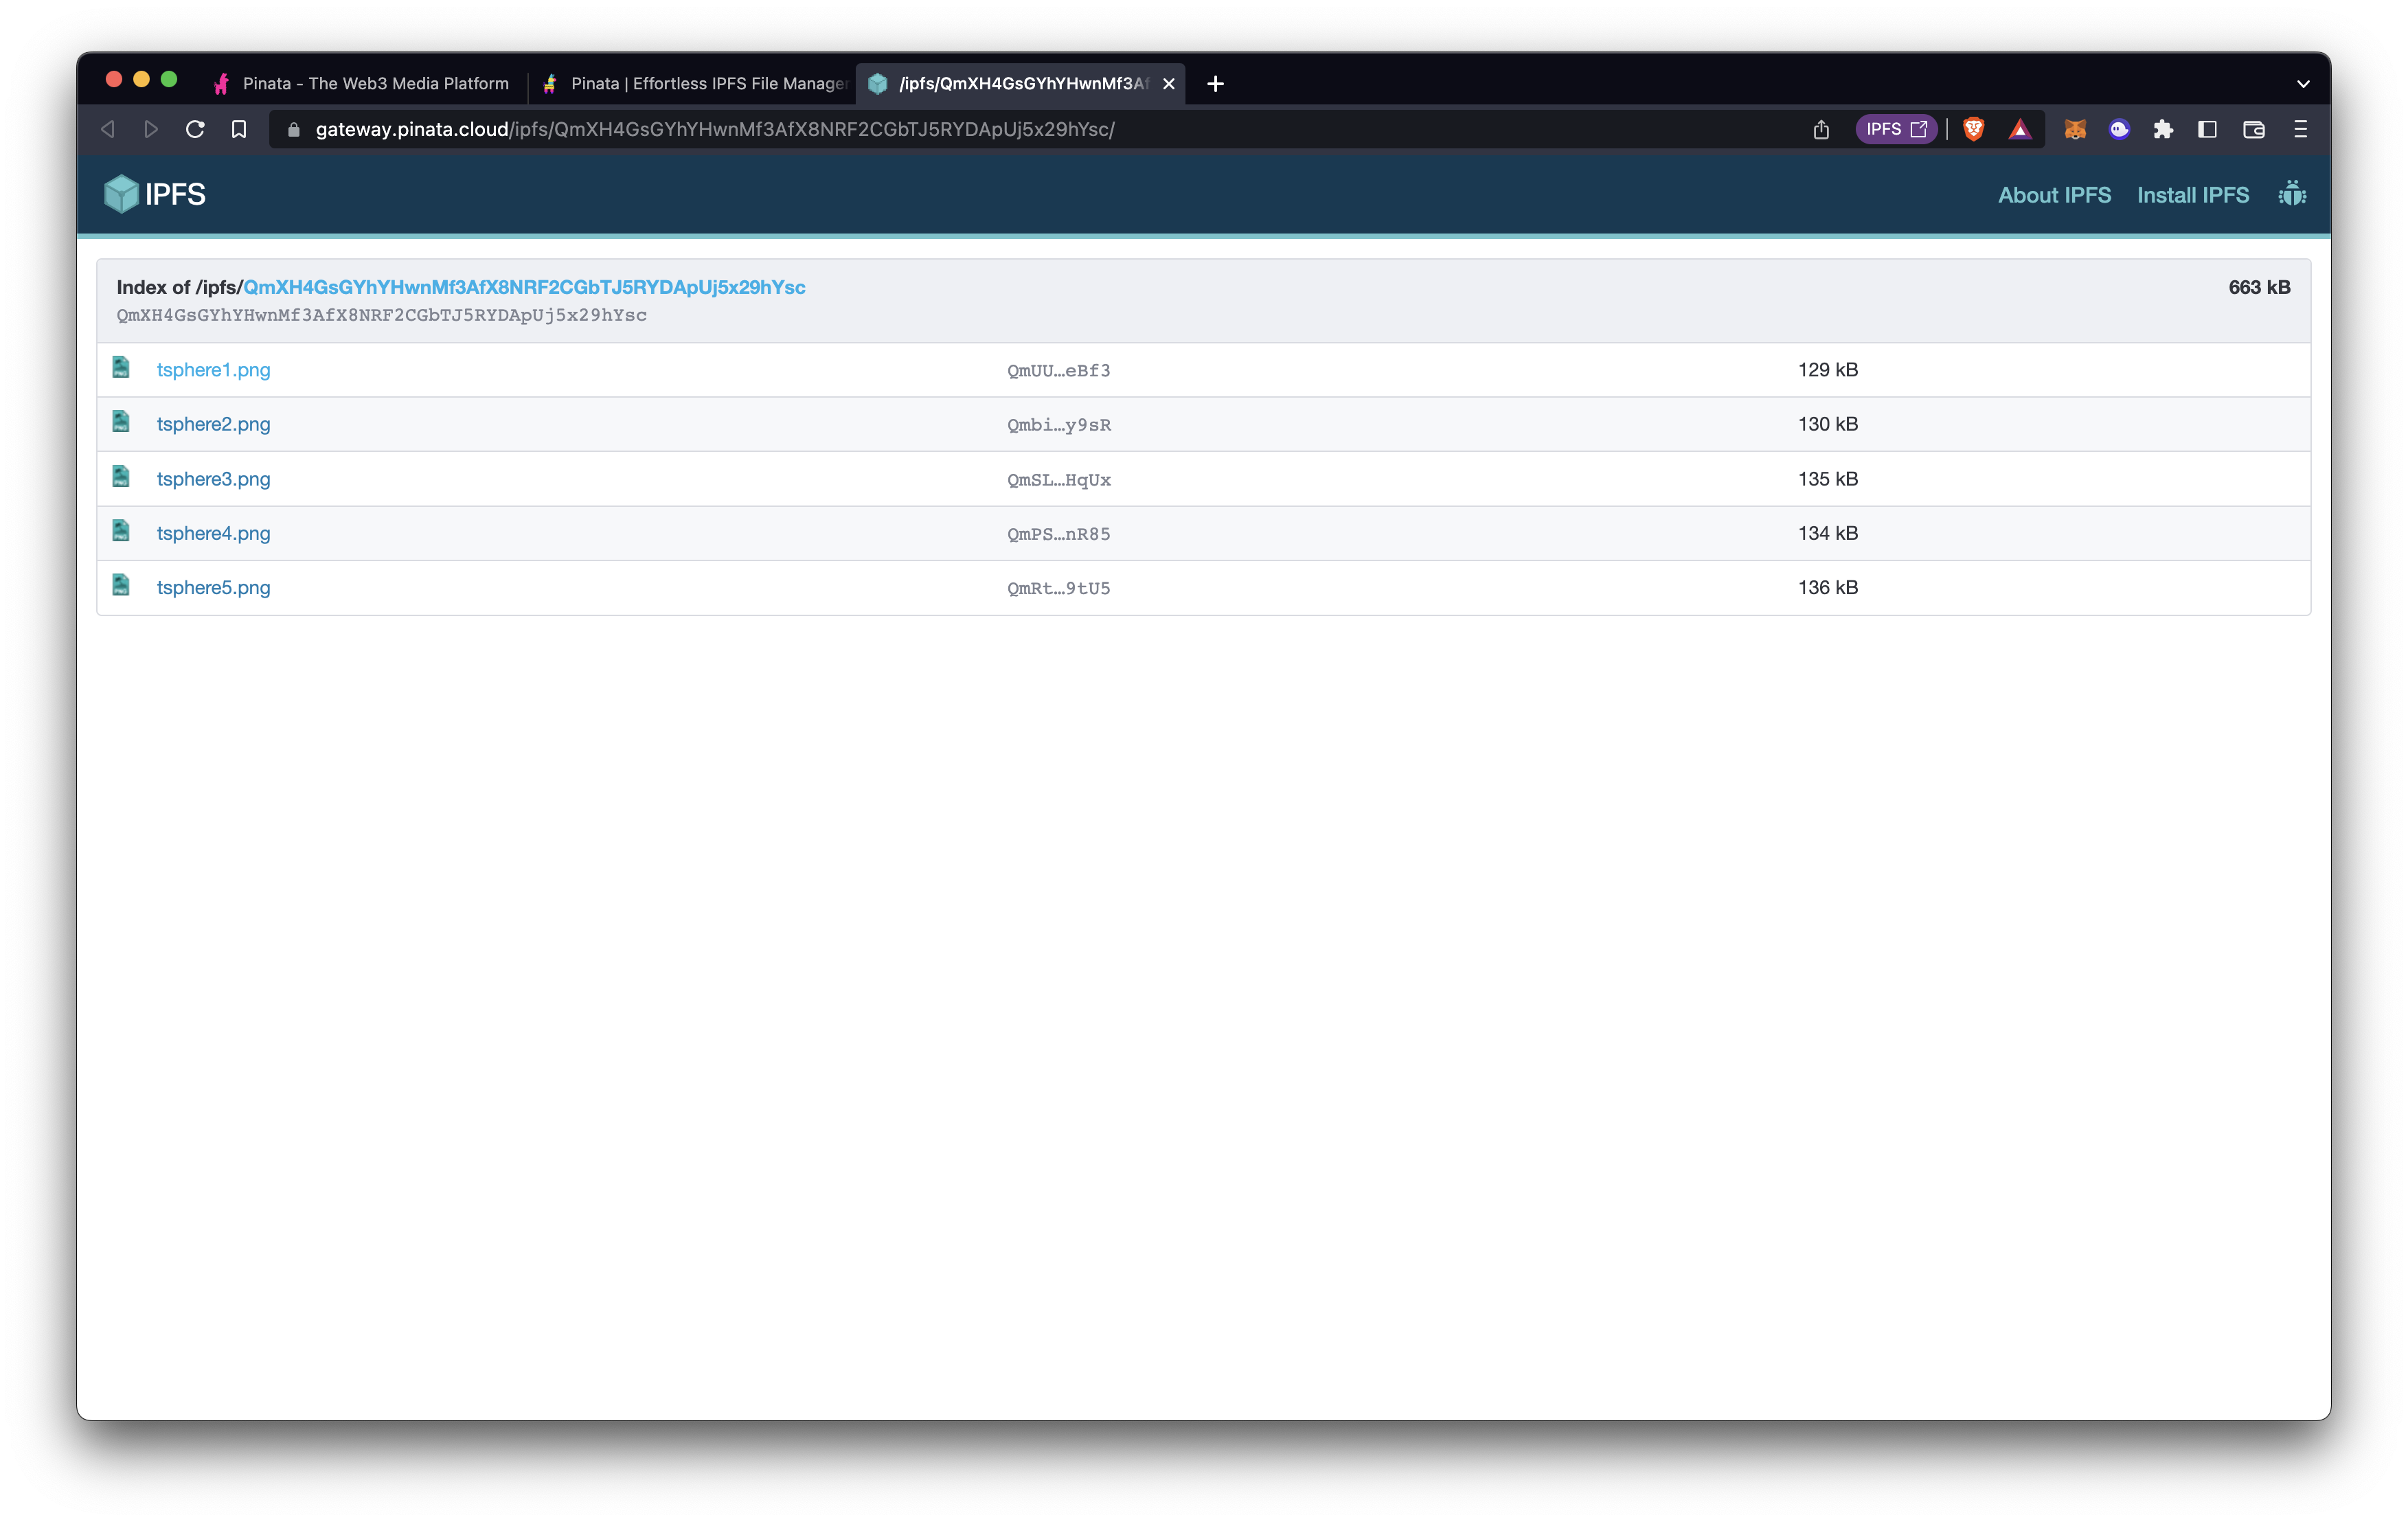
- Take the CID along with the png name and place them into the appropriate metadata (json) files.
You can find the Metadata folder we used for this example below
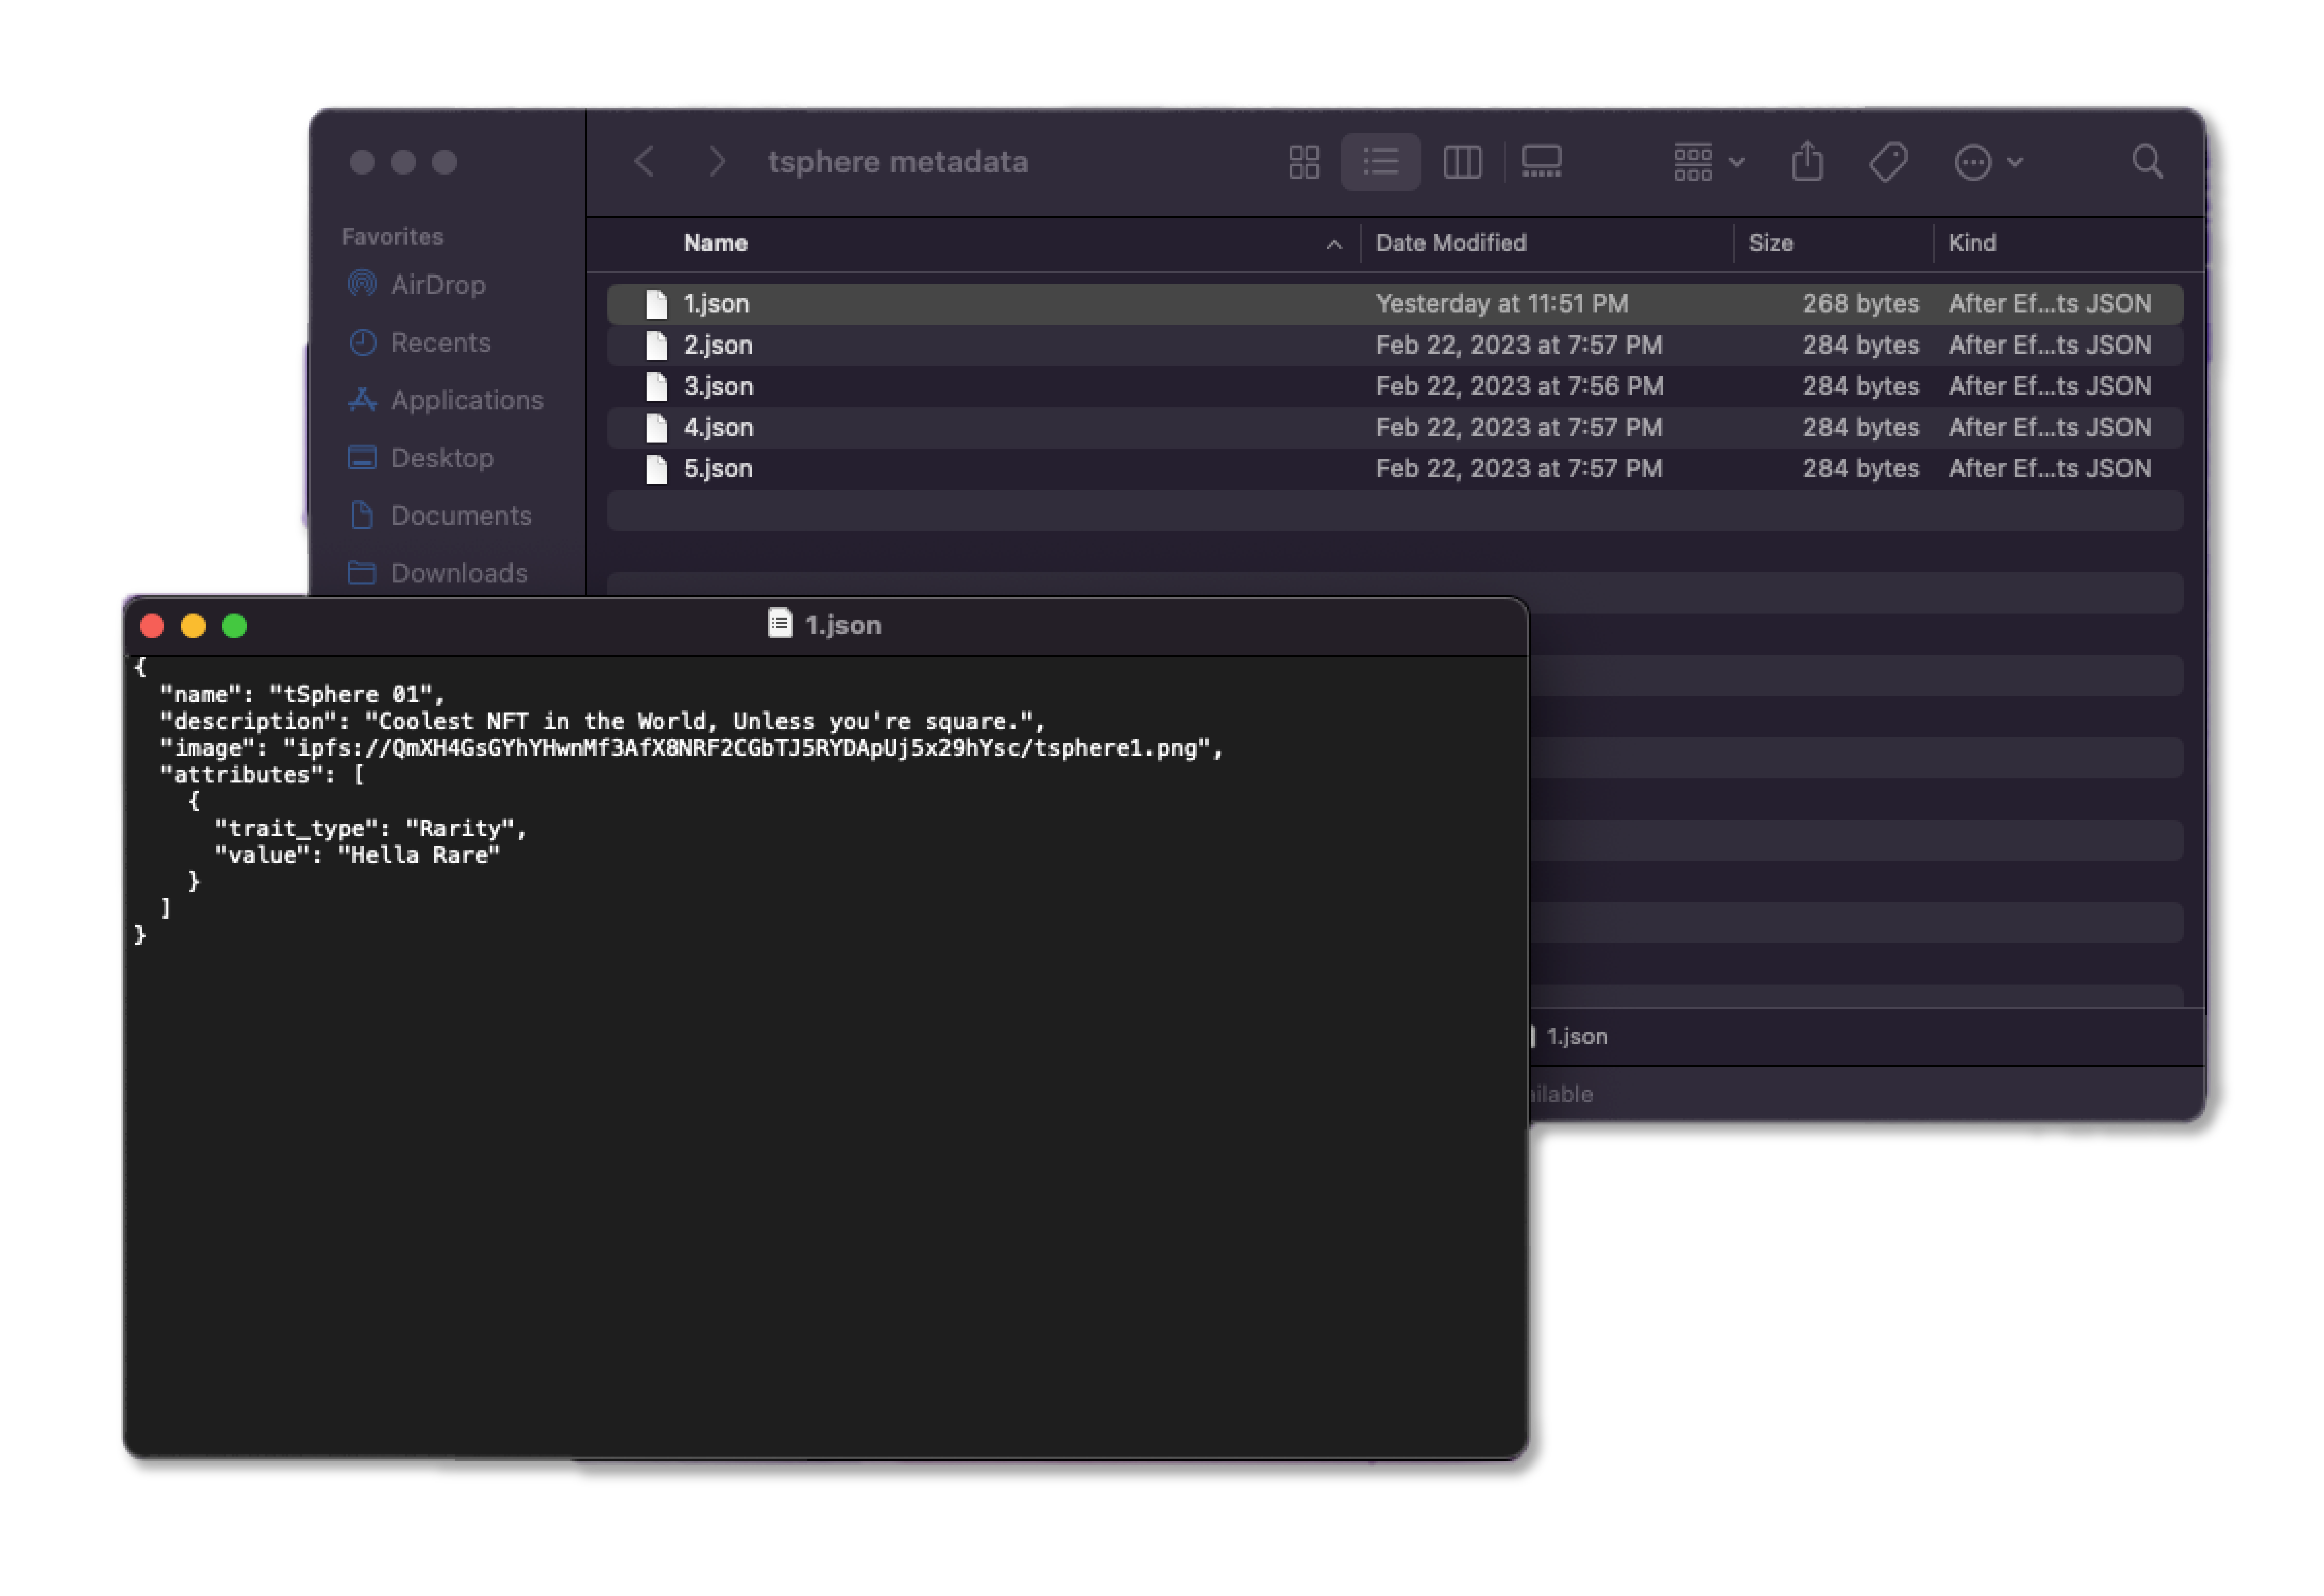
These json files are used by your Digital Asset contract, dApps and marketplaces to pull all needed information about your Digital Asset. Be sure to double check that each file points to the correct png and has the right data.
In the image above you can see that I placed the CID and the image name for the first Digital Asset into the First json file.
"image": "ipfs://"CID"/filename.png"
- Once your json files have been updated appropriately you can then upload the folder to piñata.
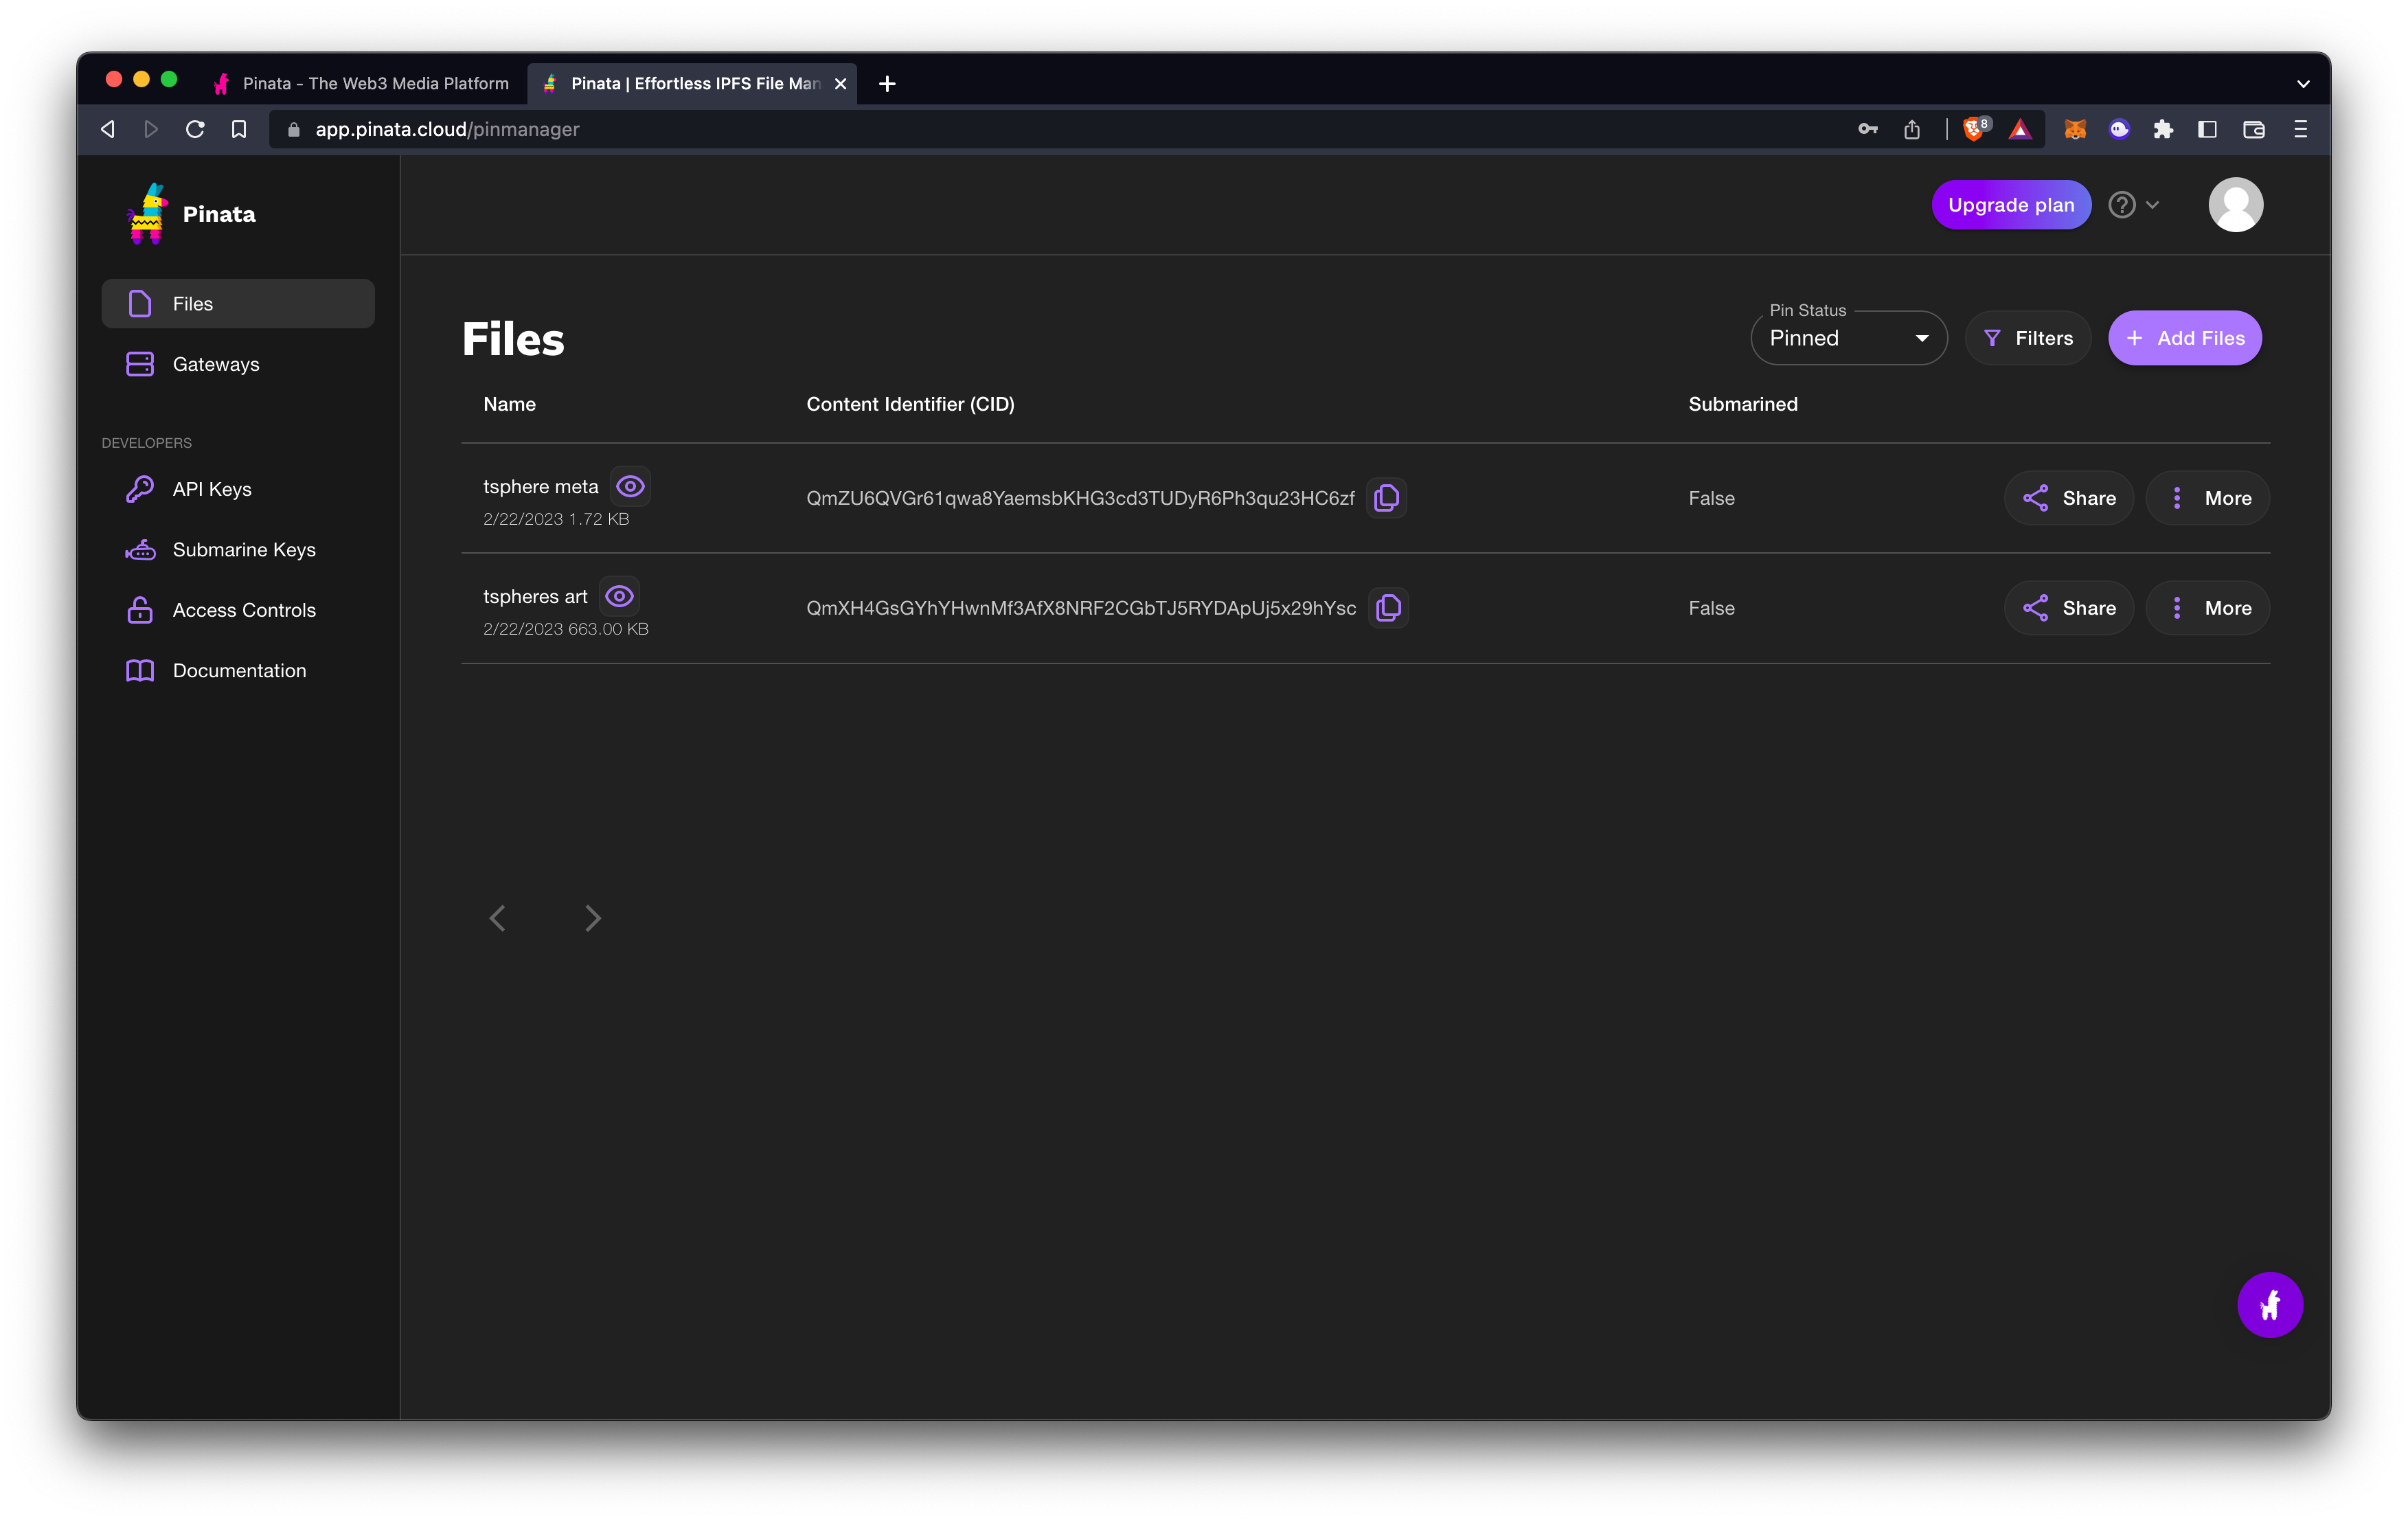
YOU DID IT!!
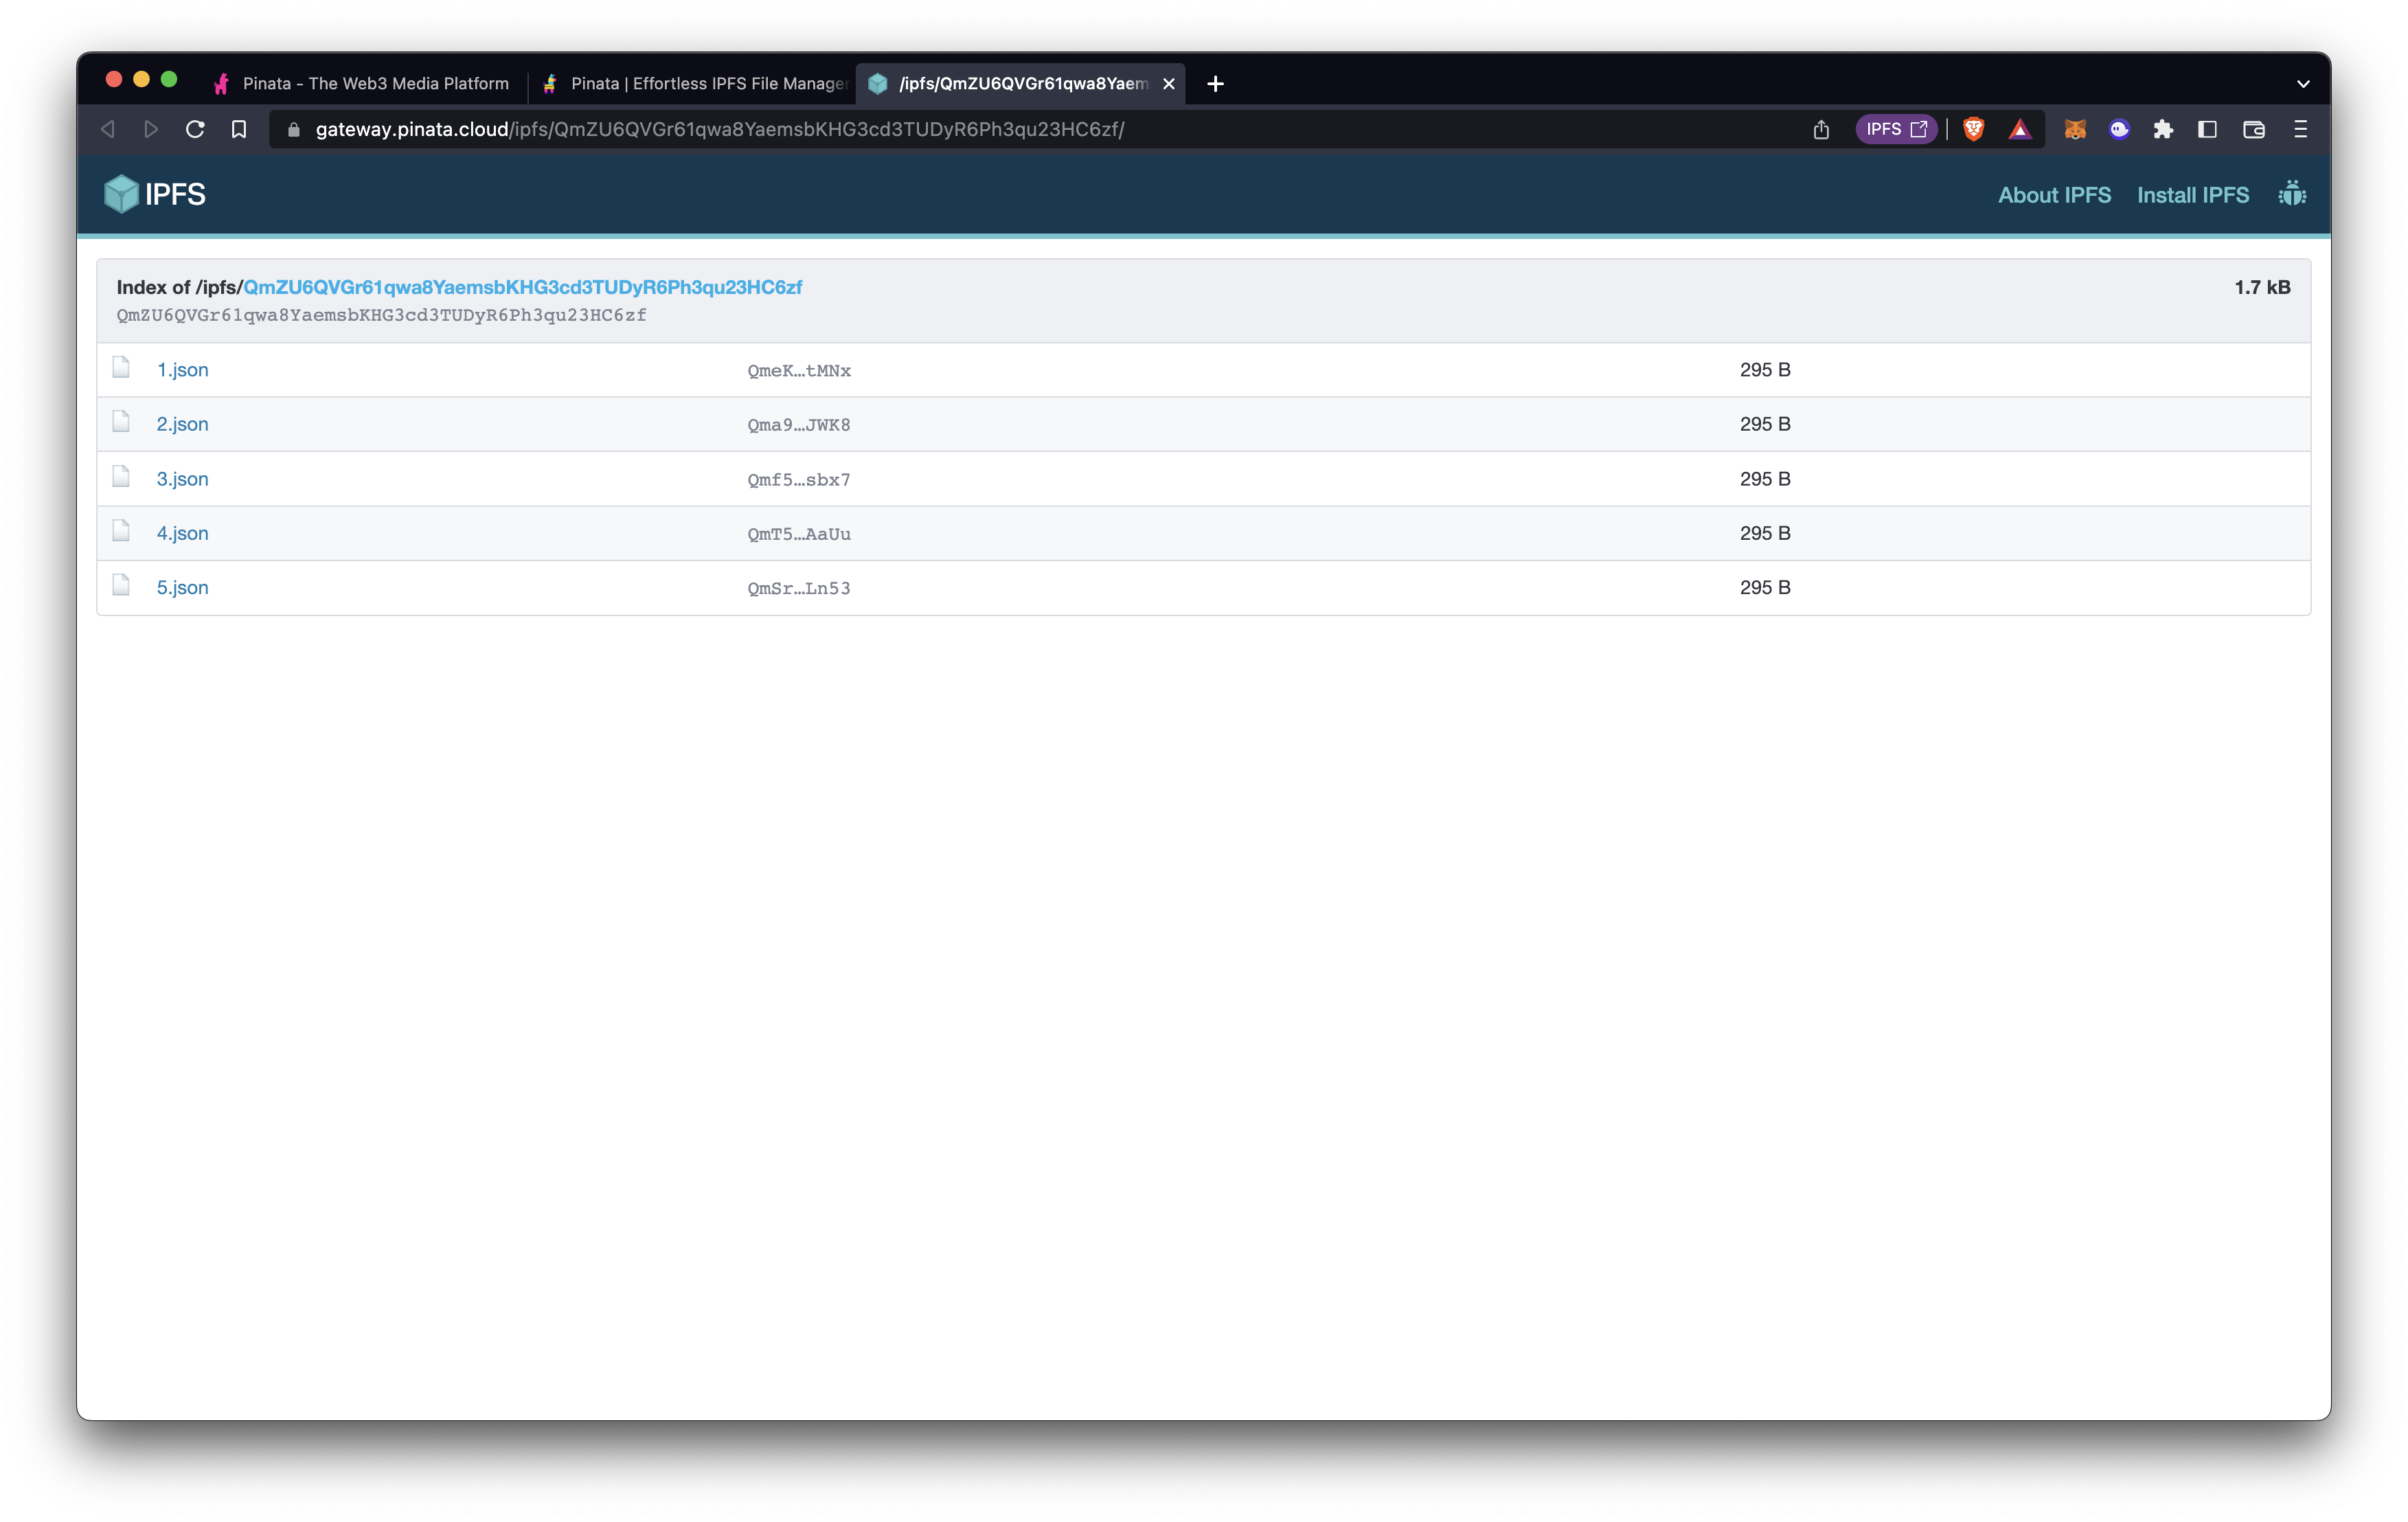
You can now use they IPFS link or CID from your json folder to set up a Minting Contract!